Archive

Monthly Archives: March 2020

Formica flooring is a popular floor covering option. It is inexpensive, durable and stylish. There are some disadvantages to formica flooring. Be sure to consider these in order to make the best decision for your needs.

Floor Marks
Formica flooring has a top layer that is relatively thin. High traffic areas can become worn over time. Scuff marks can develop over this worn area. It is important to keep formica clean and to lay rugs in high traffic areas for protection.

Water Damage
Formica can swell if any water is left on it. The swelling damage is permanent, and the flooring will need replacement. It is important to clean up all spills as quickly as possible. Clean the floors with a mop that has all of the excess water squeezed from it. Avoid using formica in bathrooms, where there is a great deal of moisture.

Unmatched Sheets
Formica is available in many different colors, designs and patterns. The patterned sheets of formica can become difficult to align on the floor. You may need to purchase an extra amount of the product to be able to match the sheets properly. This could add up to ten percent to your material costs.


Source: www.DoItYourself.com

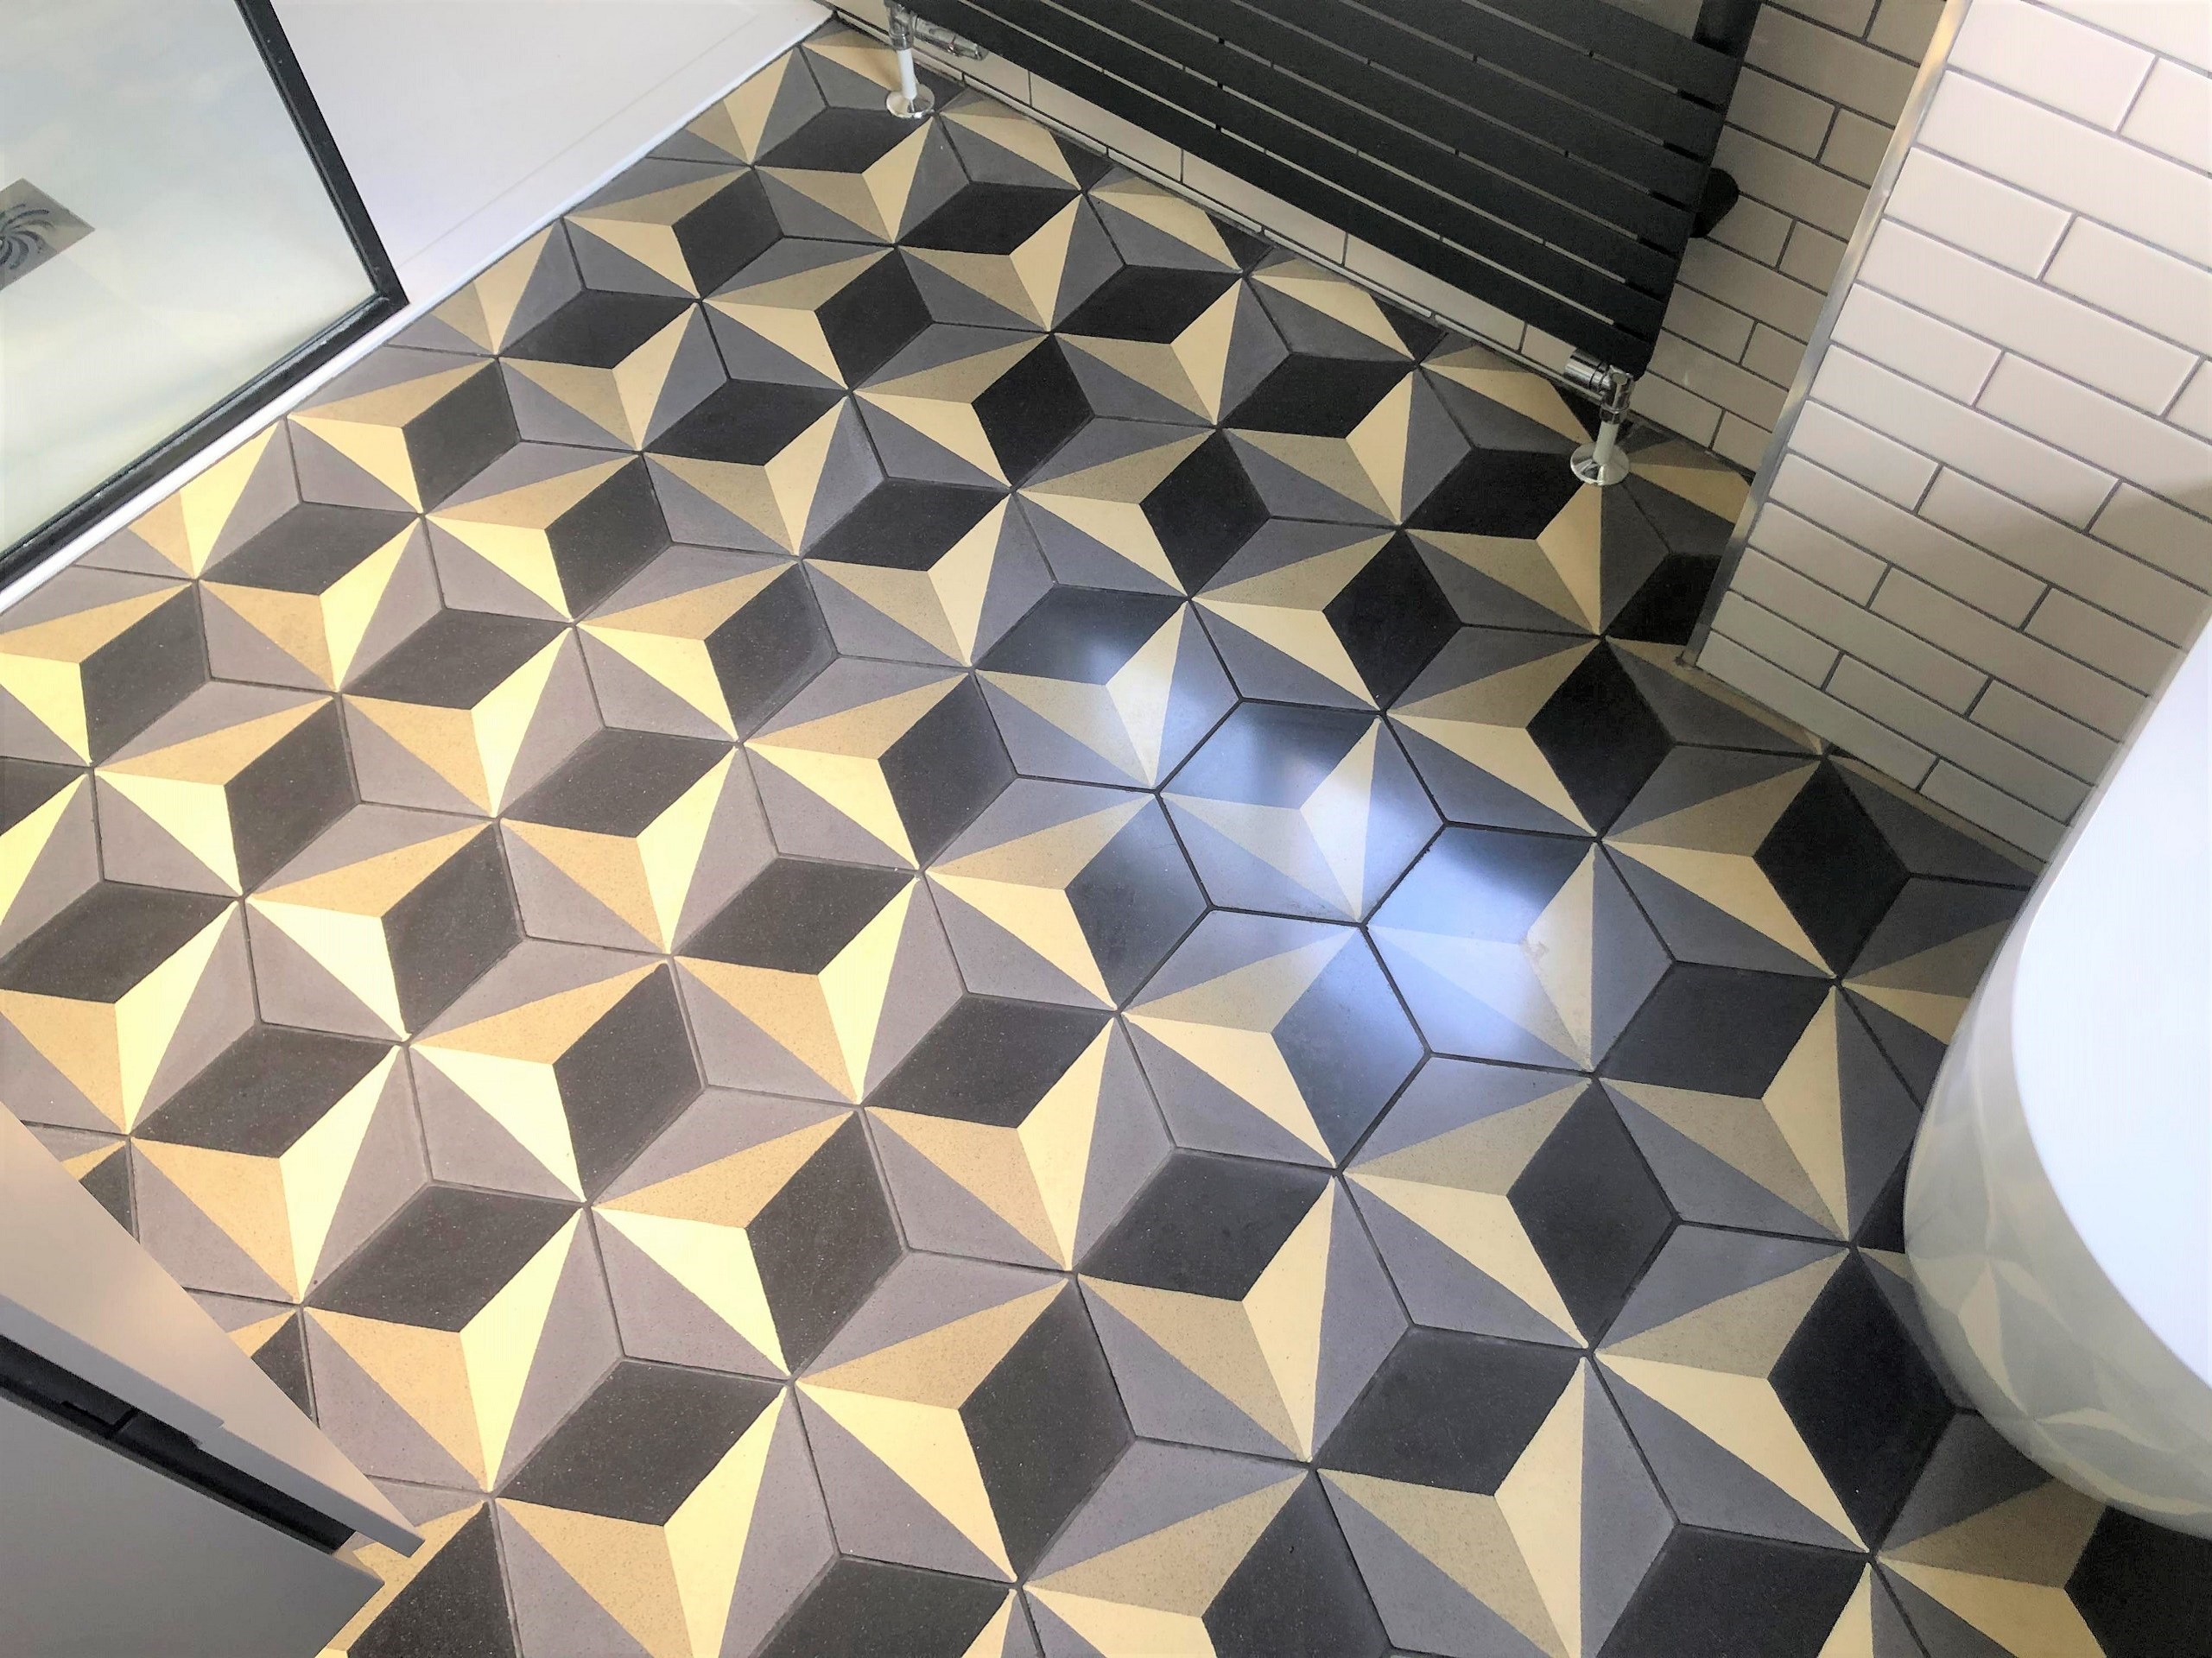
These photographs were taken of a bathroom and WC in a property in Histon The client had just had these modern Encaustic tiles laid a couple of months prior. The owner had never been happy with the final look of them and from the markings on the surface it looked like had been damaged in storage or left outside and neglected. They are a pretty unusual design so I can only assume the tiler thought their appearance was perfectly normal at the time of installation.

Encaustic Tiled Bathroom Floor Before Renovation in Histon

I was confident I could improve the appearance of the tiles and gave the client a quote for the work. Whilst she didn’t want to spend more money on her new floor, she did want it to look as it should, so rather reluctantly she agreed to go ahead.

Encaustic Tiled Bathroom Floor Before Renovation in Histon

Histon is next to Impington, they are small villages in Cambridgeshire, over the years the two villages have grown and have entwined together. Many villagers in fact do not know where one village starts and the other ends. The have 6 pubs in total!

Cleaning/Repairing an Encaustic Tiled Bathroom Floor

I wasn’t sure what had been applied to the tiles so after adding protective tape to the wooden skirting I gave them a deep clean with Tile Doctor Remove and Go which was worked into the tiles with a black scrubbing pad. Then to renovate the surface and remove the markings I honed the surface with 400-grit and then 800-grit burnishing pad using water to lubricate the process and rinsing and extracting the soil away after each pad with the wet vacuum.

Sealing an Encaustic Tiled Bathroom Floor

There were two areas that needed work so whilst one area was drying, I was able to get to work on the second and then return to the first later to apply a sealer. My product of choice for this floor was Tile Doctor Colour Grow which is an impregnating sealer which improves the colour and works by penetrating the pores of the tile and protecting it from within. I applied three coats allowing each one to dry before applying the next. The bathroom now looked as it should have done from the beginning.

Encaustic Tiled Bathroom Floor After Renovation in Histon

My client was very happy with the improvement and left the following 5-Star review.

I only had my floor tiles fitted a few months or so ago and was so disappointed with them. I called Tom and within a few hours, he had transformed them! They look absolutely fantastic! Great value for money as well!

I recommended that in order to maintain the tiles, she should use Tile Doctor Neutral Cleaner, this is a pH neutral cleaner which will keep the floor without harming the sealer. Many tile cleaning products are only designed for Ceramic or Porcelain tiles and are too strong for use on sealed floors where they will strip the sealer off with time.

Encaustic Tiled Bathroom Floor After Renovation in Histon


Source: Encaustic Tile Cleaning and Renovaton Service in Cambridge

Maintaining your outdoor ceramic tile can make the difference between having an eye-catching patio or an eye sore. Often, homeowners are confused about how to maintain their outdoor ceramic tile, but the process is similar to the process used to maintain indoor ceramic tile. The most important step to take is to keep the grout in good condition. By using some elbow grease and exercising a little patience, you can keep your outdoor ceramic tile in good condition so that your patio is always ready for entertaining and your walkway is always ready to welcome guests.

What You’ll Need

  • 5-Gallon bucket
  • Broom
  • Dish detergent
  • Water hose
  • Grout sealer
  • Pressure washer (optional)

Step 1: Sweep Tile
Using the broom, sweep the tile. Make sure that you clear away any loose debris. The more debris you can clear away at this point, the easier it will be to clean the tile in the next step.

Step 2: Clean Tile
If you are certain that the grout is undamaged and that the tiles are secure, the quickest and easiest way to clean your outdoor ceramic tile is to use a pressure washer. Operate the pressure washer according to the manufacturer’s instructions. If you do not have a pressure washer, use a water hose to fill the 5-gallon bucket halfway with water. Add a few squirts of liquid dish detergent while filling the bucket to make a cleaning solution. Set the bucket aside. Use the water hose to wet the tile thoroughly. Then, get the bucket and dip the broom into the cleaning solution. Use the broom in a sweeping motion to clean the grout between each tile. Give extra attention to any compacted debris between the tiles. It may take some scrubbing to remove the compacted debris, but you must remove it completely. Continue to dip the broom into the cleaning solution and clean between the tiles until you have scrubbed the entire area. Use the broom to clean the surface of the tiles as well.

Step 3: Rinse Tile
After cleaning the tile and grout, use the water hose to rinse the ceramic tile. Rinse several times until all residue has been removed.

Step 4: Dry
Allow the tile to dry completely. On a hot day, drying may take only a few minutes. On cooler days, it may take a few hours.

Step 5: Seal Grout
Take the time to read carefully the manufacturer’s instructions for the grout sealer. Then, apply the sealer to the grout lines. Most grout sealers come in a bottle with a built-in application brush, so application should not be messy. Allow the first application to dry according to the manufacturer’s instructions, and apply a second coat of the grout sealer. Allow it to dry.

By taking these steps at least once a year, you can maintain your outdoor ceramic tile so that it lasts for decades to come. Now that you have taken care of your outdoor ceramic tile, you can start planning your next home improvement project.


Source: www.DoItYourself.com