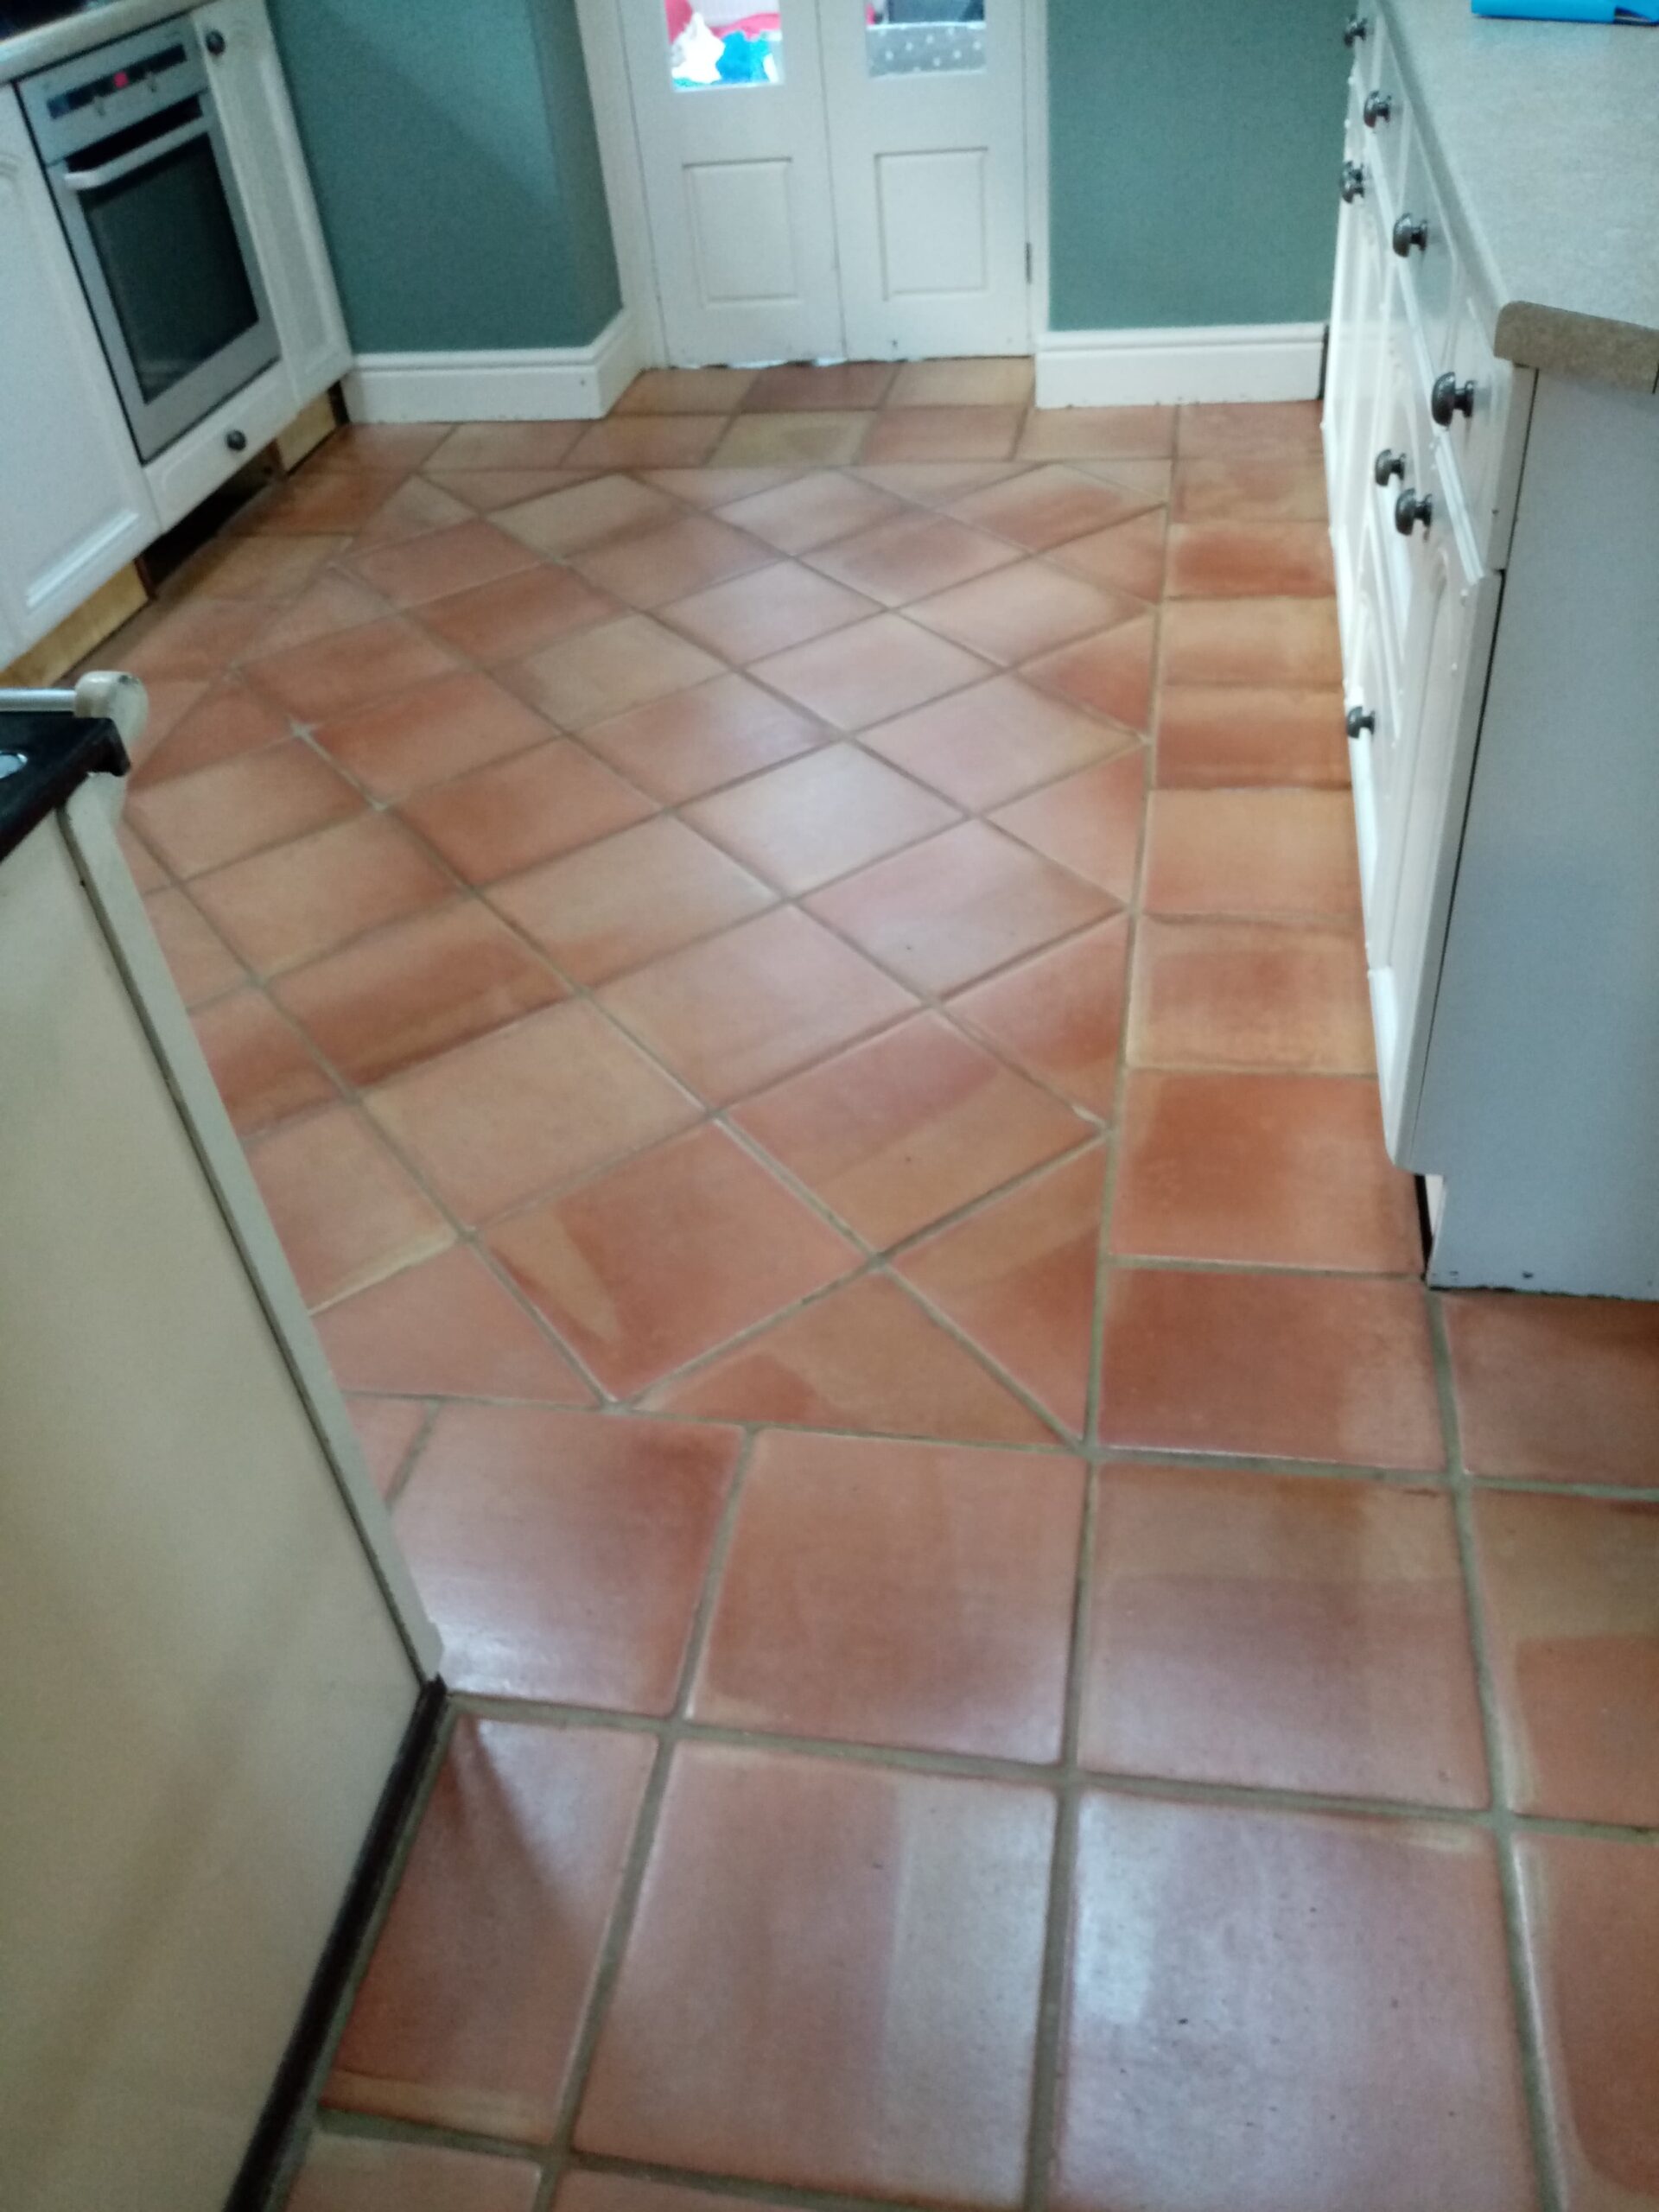
VCT flooring (Vinyl Composition Tile) must be laid on a perfectly smooth surface. So if you intend to lay your new VCT floor over an existing floor, be certain that the surface is prepared properly to receive the tiles. Additionally, if you opt to use a backer board to level the surface, remember that doors will need to be adjusted accordingly.
What You’ll Need
- Wax stripper (if required)
- Grout leveler (if required)
- Vinyl embossing leveler (if required)
- Vinyl composition Tiles
- Adhesive for VCT
- Notched trowel (size as recommended by manufacturer)
- Utility knife
Step 1 – Floor Prep
Remove all finish carpentry (doors, doorframes, baseboards, etc.). If the existing floor is vinyl, thoroughly clean and strip polish and wax, then coat with vinyl embossing leveler to even out embossed design. To prepare existing VCT flooring, use a grout leveler over the floor. For an existing epoxy floor, sand the entire surface with a walk-behind sander, and apply a coat of floor preparation to seal and level, then one final sanding and cleaning.
Step 2 – Layout
If the room is a simple layout (square or rectangle), finding the center is just a matter of snapping a chalk line from the centers of opposing walls, forming a “+” on the floor. Where the lines intersect, is the exact center point of the room. Using 1 tile, darken the lines at the center with a pencil to assure perfect placement (lines will be 2-tile widths each direction). It is essential that the first tile be laid perfectly because every other tile lines up to it. Should you prefer a more elaborately VCT flooring design layout, transfer the tile layout to the floor with a pencil. The adhesive dries translucent and will allow you to see the marks.
Step 3 – Setting Tiles
Pour adhesive onto the floor. Spread adhesive over the entire floor with a trowel, notching the adhesive once desired thickness is achieved. Let adhesive dry. Tiles can be set when you can touch the adhesive and it is tacky, but not wet. When you can touch the adhesive with your finger coming up clean, its time to set the VCT flooring. Starting in the center carefully lay the first tile, with the corner even with one of the corners formed by the “+” in Step 1. You will not be able to move tiles once they are laid.
Step 4 – Cutting Tiles
After you have placed all whole tiles, you must make the cuts required to finish the room. For wall cuts, place the tile to be cut (be sure orientation is correct) on top of the tile that will be adjacent to it (first row from wall). Take another unused tile, line it up to the wall, and over the tile to be cut. Using this as your straight edge, score the VCT flooring tile where they overlap. Remove both tiles (one to be cut and overlapping guide tile) and snap strip off at scored line. It is best to NOT have glued the perimeter of the room until all cuts have been made. As you make your cuts, lay the tiles on their appropriate adjacent tile. After all cuts are completed, glue the perimeter, allow it to dry and then place tiles. To cut at openings (doorjambs, etc.), line the tile to be cut even with the wall, make a 1 inches scribe at 90 degree to the jamb, where it hits the tile. Keeping the same orientation, move tile around to inside the jamb, even with the adjacent tile, scribe a 1 inch mark 90 degree to where the jamb hits the tile. Use another uncut tile as a straight edge, scribe the depth of the second mark across to the first mark, and carefully snap strip (do not break off tail) the VCT flooring tile.
Source: www.DoItYourself.com


