Archive

Monthly Archives: March 2023

Natural stone flooring can make a smashing accent. The subtle complexity of patterns formed by weather is both calming and engrossing, and they’re right on trend with the recent movement toward design elements drawn from nature.

Stone flooring is also intrinsically durable, but it’s important to pick the right kind for your needs and to maintain it carefully for the best long-term results. Here are some tips to get you on the right footing.

1. Subtle Styles are More Durable

The variety of stone styles available has exploded over the years. Manufacturers now provide a wide assortment of colors and finishes ranging from dull to shiny. The surface of the tile can also be smooth or rough, allowing you to select from a spectrum of more finished to more rugged.

Of course, your personal preference and existing decor will weigh heavily on your selection. If you want a boost of color, go for it! Consider, though, the value of more understated designs. Neutral tones are well-positioned to accommodate changing trends and future renovations.

2. Some are Easier to Keep Clean

Think about how hectic life in your household tends to be, too, and how much cleaning you like to do. A polished floor will reflect light and offers a snappy look, but it also shows dirt more than a rustic finish. Chips and scratches will also be more noticeable in a polished finish, possibly resulting in more repairs over the life of the flooring.

3. Stone Stays Cool

Similarly, the environment where you live can influence your decision regarding natural stone tiles. They’re an ideal choice in warm climates because they stay cool and do not radiate heat.

Even in cooler climates, natural stone performs well, especially when paired with a warming option like radiant heating. It also offers water resistance, which is a great benefit for bathrooms, kitchens, pool rooms, and anywhere else where water is prevalent.

4. Cost Will Vary by Style

Natural stone flooring used to be a product found only in the homes of the elite, but an increase in international trade has made these options more accessible. Now the cost of these types of flooring is about the same, and sometimes even less, than wood flooring. Even if you don’t plan to stay in your spot for decades, natural stone flooring is an investment that typically pays you back by increasing the value of your home.

Marble can be the priciest, as its mesmerizing swirls are highly prized. Slate and granite are typically the cheapest options, with materials like travertine and limestone falling somewhere in between. As a general rule, the larger the tile size you choose, the more you should expect to pay.

5. Think Ahead to Minimize Your Cleaning

The texture you choose may have different maintenance needs, but in general, natural stone flooring is easy to care for with simple, regular upkeep and occasional deep cleaning.

Most stones will just need a sweep or soft vacuuming a few times a week, and occasional mopping to collect dust and dirt. Don’t use any harsh chemicals, and avoid acidic cleaners such as vinegar—these can all result in discoloration or damage.

For a deeper clean, use a mild vegetable soap and water or a cleaner specifically made for your type of stone. Clean up spills promptly and apply cleaner directly to any stains as soon as possible.

Rugs near entryways can help minimize the dirt tracked onto the floors. You may want to start a new habit of removing your shoes at the door to make cleaning easier. Furniture cushions on the legs of couches and chairs can help you avoid scratching your stones.

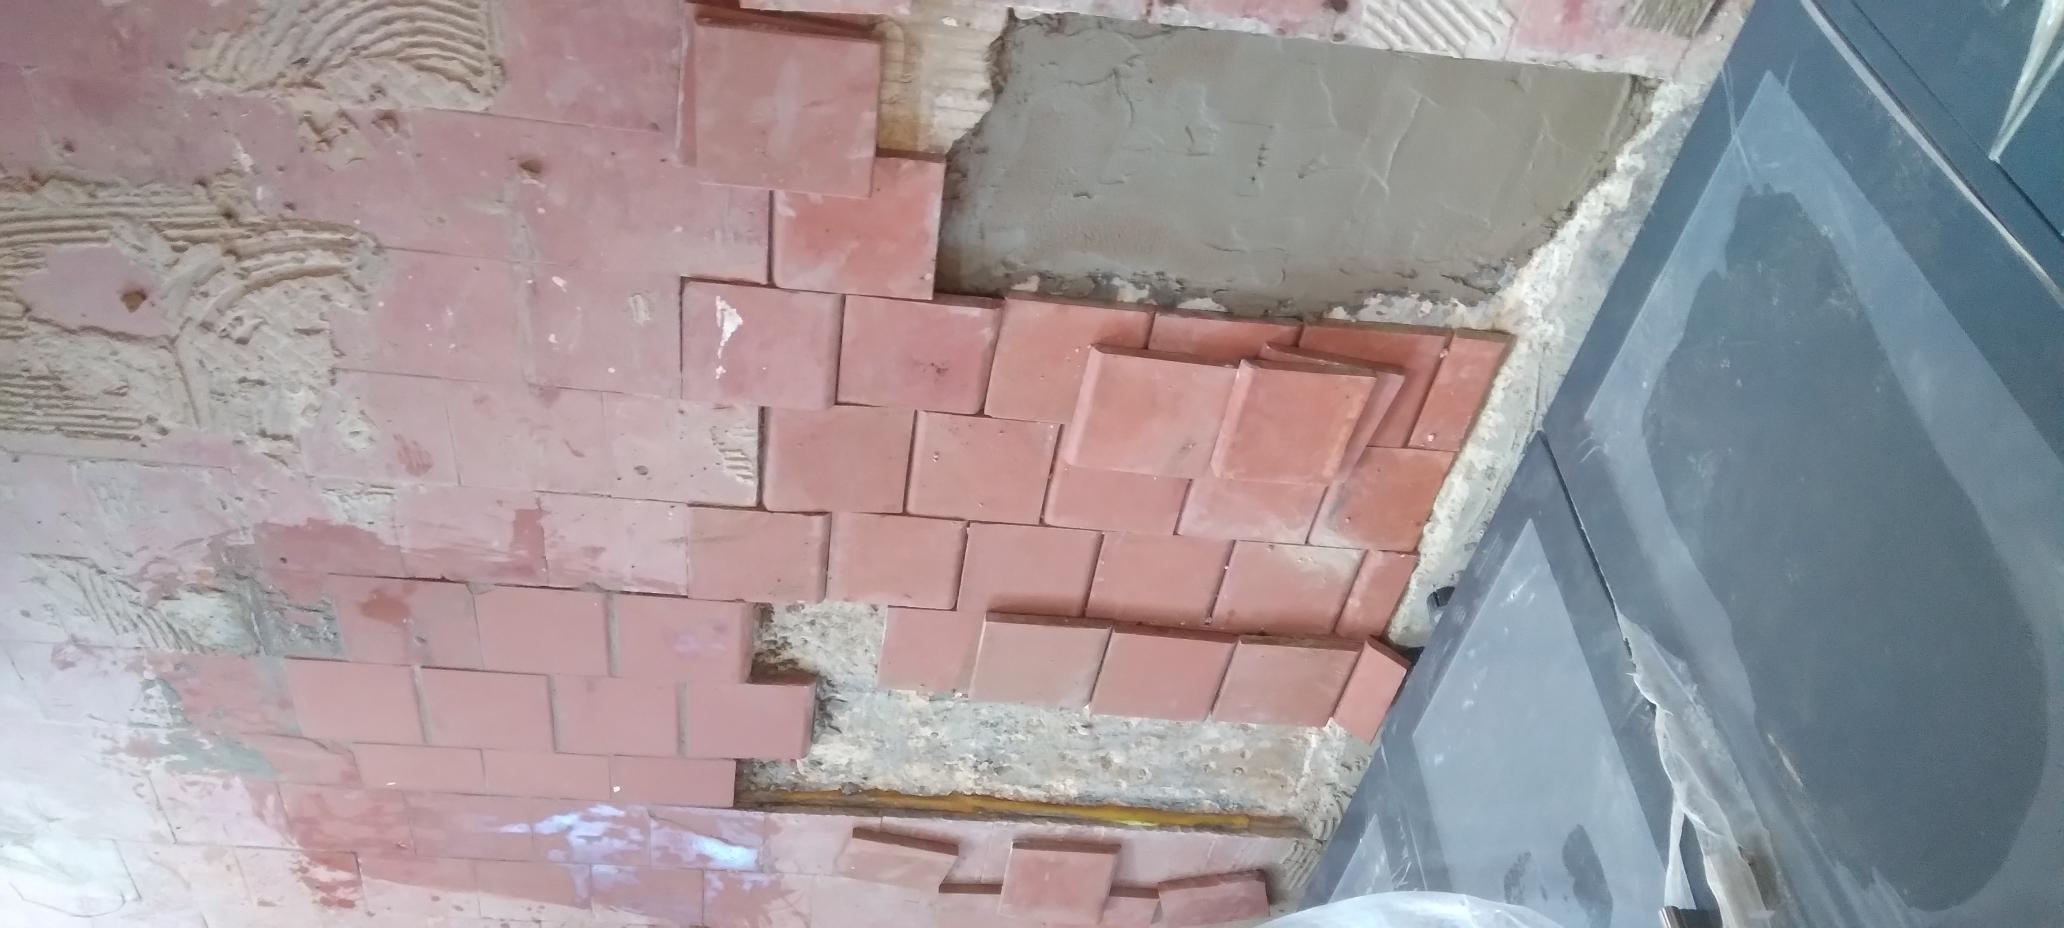
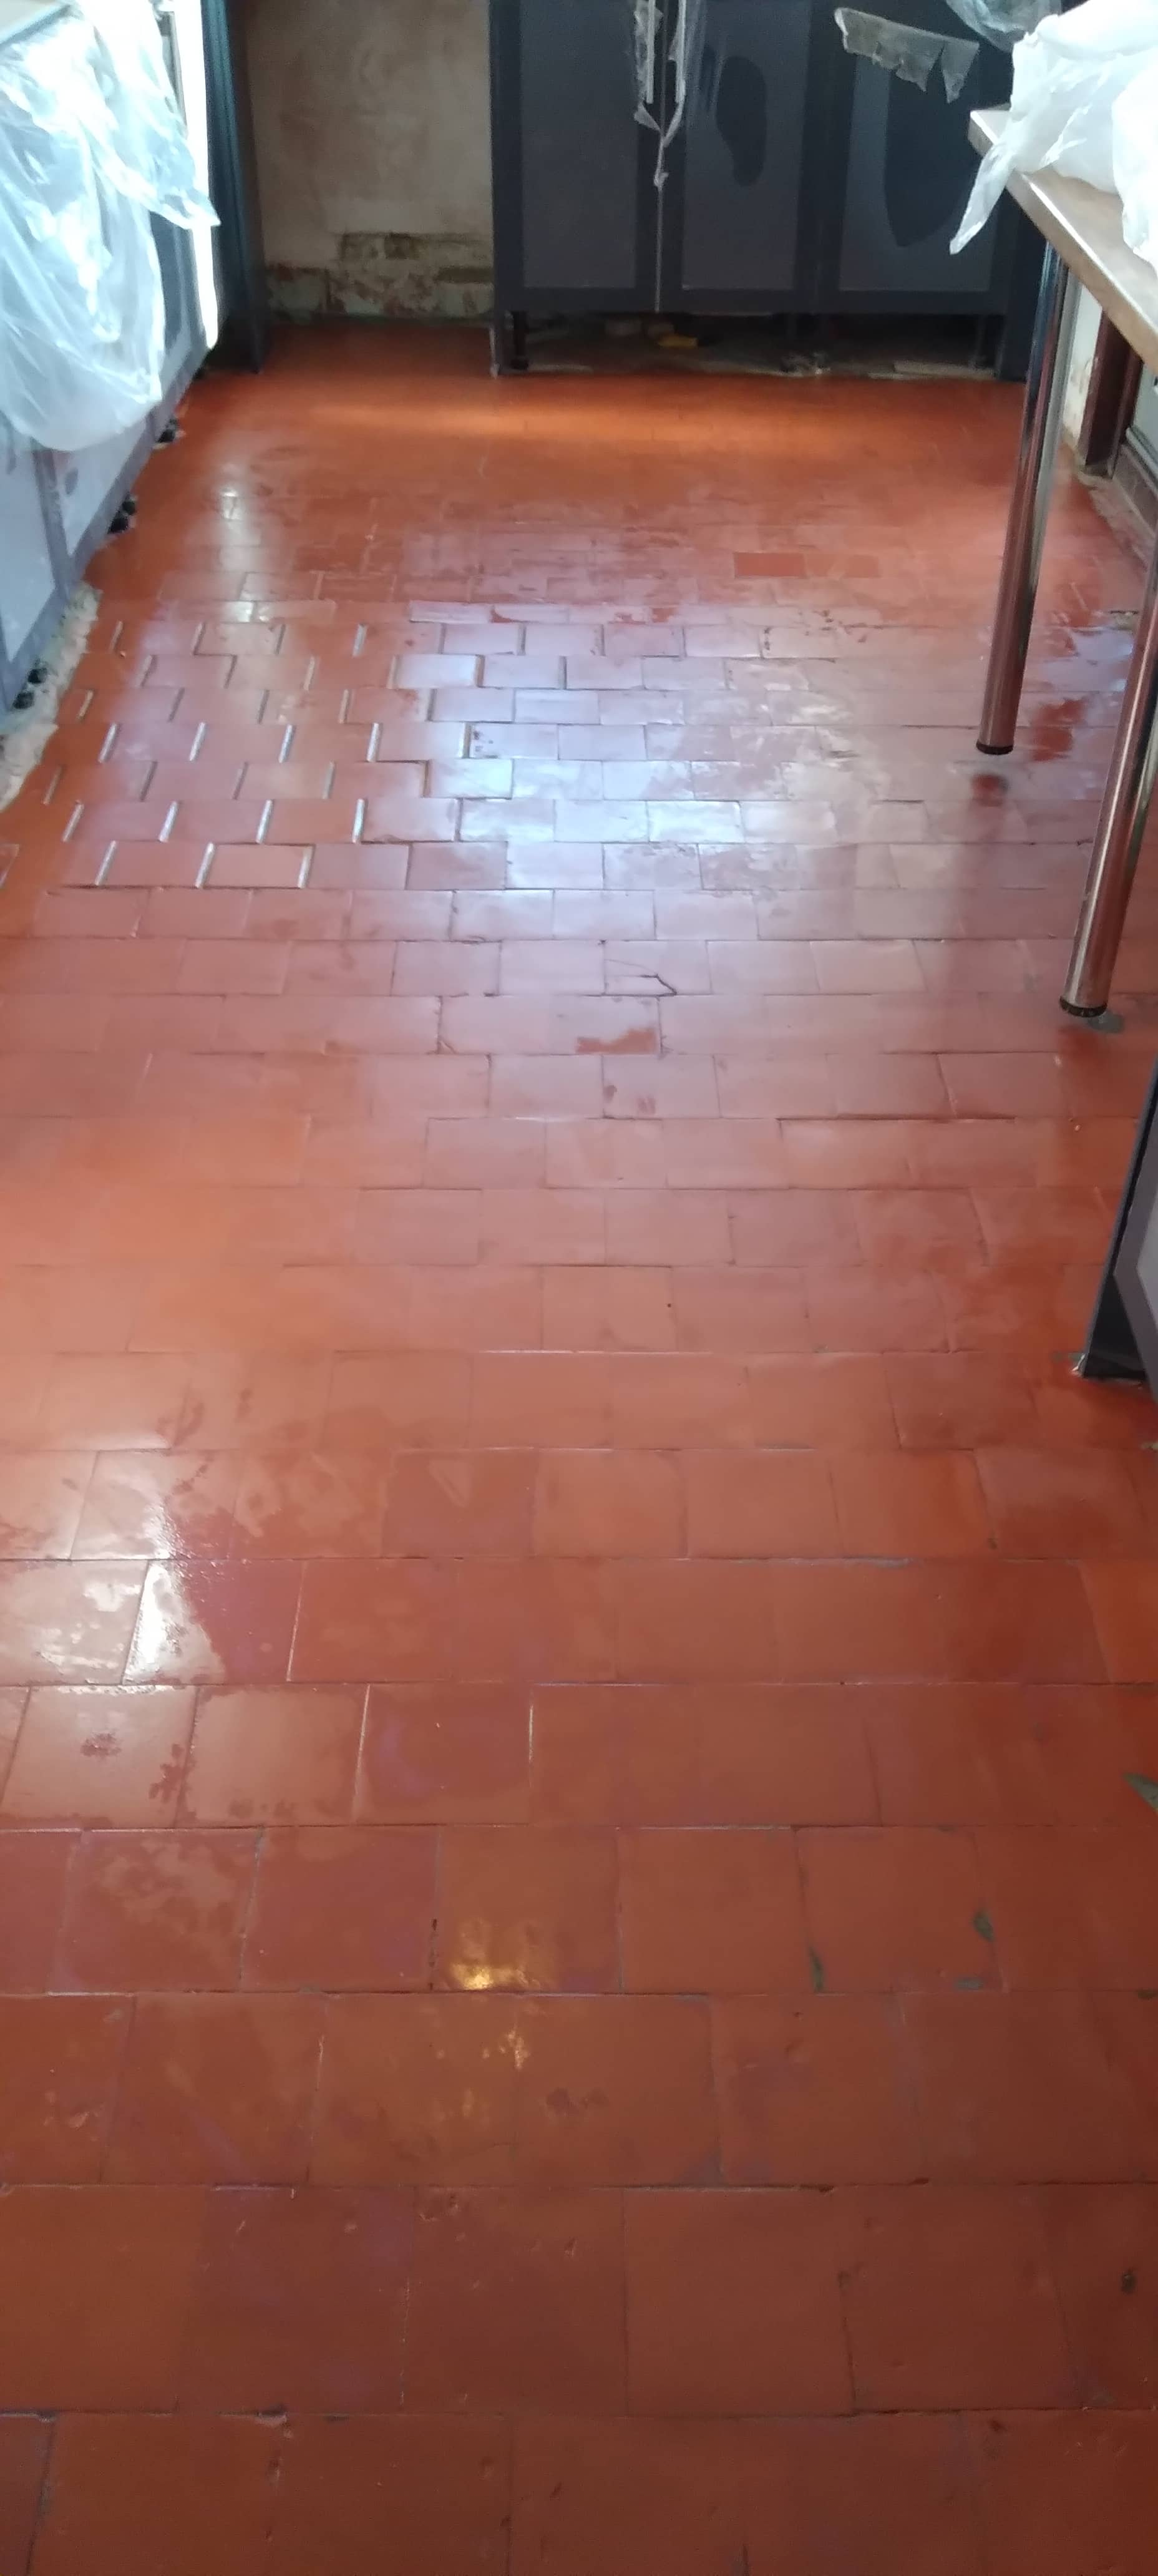
6. Even Installation is Essential

Perhaps the most important tip regarding natural stone flooring is to make sure it’s properly installed. Flooring that’s not completely level will be much more likely to buckle, shift, and crack over time. That can result in an expensive and time-consuming repair.

Whether you install the natural stone flooring or have a professional tackle the task, watch for slopes and uneven sections that could affect the end result.

Source: www.DoItYourself.com

This customer had purchased an older property in Gloucester and while fitting a new kitchen had the Ceramic tiled floor removed only to discover an original Quarry tiled floor underneath. Realising the value an original floor can add to a property as a period feature, they contacted Tile Doctor to see if it could be restored.

I made a visit to the property to survey the Quarry tiles and ascertain if it could be restored after being hidden for so long. I could see the tiles were in reasonable condition and it looked like they had tile adhesive on most of the tiles which I had experienced before. I was therefore confident that it would be possible to remove this and clean them up and they were reassured that I should be able to restore them to a good standard.

Old Victorian Red Quarry Tiled Kitchen Floor Before Restoration GloucesterOld Victorian Red Quarry Tiled Kitchen Floor During Restoration Gloucester

Happy with my quote and confident in my ability to get the job done I was booked in to complete the work.

Cleaning and Repairing a Victorian Red Quarry Tiled Kitchen Floor

With a date set to commence work I arrived on the agreed date to do the work and made a start on cleaning up the tiles. I soon realised at this point I had made a mistake by not completing a test clean when I came round to do the survey. As it turns out it wasn’t just tile adhesive on the quarry tiles but there was also a large section of concrete that I can only assume had been used to level the floor and fix the tiles.

I had no choice but to dig out the concrete and following that it would need replacing with self-levelling screed and replacement tiles. It took four painful days to remove the adhesive and rebuild the concreted section of flooring with replacement tiles.

Old Victorian Red Quarry Tiled Kitchen Floor During Restoration Gloucester

Once done I was able to move on and deep clean the tiles with a strong dilution of Tile Doctor Remove and Go scrubbed in with a black pad fitted to a rotary floor machine. The soiling was rinsed off with water and extracted with a wet vacuum and the whole process was then repeated until I was satisfied with that the quarry tiles were clean.

Old Victorian Red Quarry Tiled Kitchen Floor After Cleaning GloucesterOld Victorian Red Quarry Tiled Kitchen Floor After Cleaning Gloucester

Sealing a Victorian Red Quarry Tiled Kitchen Floor

I then left the floor to dry for 3 days and then return to seal with to a low satin finish using Tile Doctor Seal and Go Extra which works well on old Quarry tiles. Additionally it’s has a breathable formula which is important feature for an old floor like this one which won’t have a damp proof membrane fitted. Being breathable allows moisture to rise through the tile and evaporate at the surface.

Old Victorian Red Quarry Tiled Kitchen Floor After Restoration GloucesterOld Victorian Red Quarry Tiled Kitchen Floor After Restoration Gloucester

The customer was pleased with results despite the job taking 7 days, having only allowed 4 but the results were worth my hard work. Sometimes jobs do not go quite to plan, but as a Tile Doctor we are experienced at getting over any challenges we face.

For aftercare I recommended the use of Tile Doctor Neutral Tile Cleaner which is a pH neutral cleaner that will keep the floor in tip top condition for the future and will ensure maintenance of this lovely feature is easy for them.

Source: Quarry Tile Cleaning Service and Products in Gloucestershire

e rules, and keep that floor looking showroom-worthy for years to come.

1. An Un-Welcome Entry

You’re probably ready to invite friends and neighbors over to ogle your newest project, but before you do, roll out the Welcome Mat. Literally. This simple thing is more than a gesture to let your guests know they’re welcome in your home. It’s also a reminder to wipe your feet before coming inside. Besides the obvious dirt and grime that can enter your home, smaller pieces of grit can get ground in, causing your floor to age prematurely. And who wants to look older than they are?

2. No Shoes, No Entry!

Yes, we know. Wear and tear is bound to happen, but some things cause wear and tear to happen much quicker—high heels, for instance. So, we’d like to offer a suggestion. For some, it might sound extreme, but it’s a common custom in many cultures around the world. If you’re comfortable doing so, now’s the time to institute the “no shoes in the house” rule. It’s probably more convenient if you live in a climate where “slippahs” are the norm, but it’s still a good practice in general.

Aside from the regular foot traffic and high heels that can wear down the floor, keeping shoes out of the house also prevents the possibility of tracking dangerous chemicals like arsenic or lead into your home. These chemicals are sometimes present in the soil of homes near refineries. Check with your local university extension services for information on how to test the soil for these chemicals.

3. Using Wrong Floor Cleaners

They may all sound alike, but they aren’t all made the same. The wrong cleaner can contain abrasives, waxes, or harsh chemicals, which can either strip or cause a waxy buildup that can dull the floor. Verify with the installer or manufacturer what types and methods of floor cleaning are best for your particular product.

4. Unprotected Furniture Feet

Attaching felt pads under the feet of your furniture is a must. Even small adjustments made to straighten out the coffee table or push a sofa away from the wall are enough to mar the surface. These pads are inexpensive and attach to the bottom of the feet with a peel-and-stick adhesive side to keep them in place.

5. Too Much Sunlight

Just like you don’t want the sun’s rays to hit your skin without proper UV protection, the same goes for your floor. Direct sunlight can fade the finish and cause discoloration, which becomes obvious when you move the furniture or rugs to expose those previously protected sections. Keep direct sunlight to a minimum by closing blinds or drapes during those times of the day. And consider rearranging furniture now and then to allow you to clean the neglected spots and hidden areas and offer shade to those areas that were once exposed.

6. Wrong Rug Pad

A nice area rug adds warmth and coziness to a room in addition to protection from sun exposure and foot traffic. Keep you and your guests safe by installing non-slip padding underneath. Rubber-backed mats have great non-slip qualities, can dull the finish. Consider rug pads that contain a combination of felt and rubber to keep those rugs from moving around and causing tripping hazards.

7. Improper Vacuum Attachment

The beater brush used for rugs is—ahem—for rugs. The floor attachment is a less aggressive cleaning method that sucks up the never-ending amount of grit and dust bunnies that seem to escape no matter how much sweeping and vacuuming we do.

8. Pet Nails

It’s not just the nails of large, heavy dogs that can scratch up the floor. Your little fur babies might not have the weight behind them, but they have claws, and if they can scratch up your skin, they can do the same to the floor. Keeping those nails trimmed reduces the likelihood of damage while increasing your sanity by reducing the infernal clicking of their toes when they walk around at night!

9. Put the Brakes on Those Wheels

The convenience of a home office has never been so important as it has been in the past year. A dedicated space must include the all-important rolling office chair. Put a rug or padded mat under that chair to keep scratches at bay. Trust us—we’ve already suffered through the heartache of this tragedy. Please learn from our mistake.

With your new floor in place, keep wear and tear to a minimum by following these simple rules so you can enjoy the new look without worrying about every new scratch that happens.

Source: www.DoItYourself.com

Carbonized bamboo flooring is environmentally friendly and adds elegance and natural beauty to your house. This type of flooring is manufactured through the process of carbonization during which bamboos are steamed under controlled temperature and pressure. The sugar in the bamboo fiber is broken down and turns darker, giving a delightful caramel shade to the flooring.

Types of Flooring

There are two main types of carbonized bamboo flooring: horizontal and vertical, which differ in terms of bamboo stripes alignment. In horizontal bamboo flooring, the strips are laid flat, and the top surface of the growth rings is visible. The strips in vertical flooring are laminated and turned on their sides, with the joints of the separate bamboo strips not easily distinguishable.

Advantages of Carbonized Bamboo Flooring

With its deep caramel shade, carbonized bamboo flooring provides a contemporary aesthetic to the décor. The flooring won’t attract allergens such as mites, dust and dirt and is easy to clean and maintain. Added advantages are resistance to insects and easy installation process. Bamboo floors withstand moisture and are suitable for environments with high humidity such as bathrooms. Besides these advantages, the carbonized bamboo flooring is an eco-friendly alternative to hardwood floorings.

Drawbacks of Carbonized Bamboo Floors

Among the disadvantages of this type of flooring is that it is prone to scratches and dents. Heavy furniture, in particular, may cause damage to the flooring. To prevent scratches on your bamboo floor, you may place plastic protectors beneath the legs of your pieces of furniture. To secure your floor’s longevity, avoid walking over it with high heels because the floor is easily dented.

Another problematic issue is the absence of strict legislative regulation over the production process in China, the major exporter of carbonized bamboo floorings. It is believed that some toxic substances may be involved in the manufacturing of bamboo floors. They may contain dangerous level of formaldehyde, which is used in the production of most bamboo floorings. Good research on the manufacturer and products is essential prior to the installation of a carbonized bamboo floor.

Cleaning and Maintenance

It is best to use a soft mop for regular cleaning, the same way you would clean a hardwood floor. Don’t employ scratch pads and strong chemicals. You may use water for excessive dirt but make sure it doesn’t stay on the flooring. Similar to other wooden products, water may make the wood swell. Waxing is not required, but you may varnish the bamboo floor every couple of years. Varnish all high traffic areas of your house in order to preserve the natural luster of the bamboo flooring.

Strand Woven Bamboo

Carbonized bamboo floors are a bit softer than other hardwood floors. To prevent scratching, carbonized and natural bamboo may be woven together, achieving an exotic look. The bamboo strips are coated and heat is used to compress them. The bamboo flooring becomes stronger and harder, with its life considerably elongated.

Source: www.DoItYourself.com

If you live in a house that was built before 1989, there is a chance that asbestos floor tile is something that you will have to worry about. Many years ago, asbestos was a very common building material that was used in floor tile, insulation, siding, and more. Once it was discovered that it caused mesothelioma and lung cancer, they pulled it off the market. However, it still has to be dealt with at some point in the houses that used it. If your house has asbestos floor tile, here are the basics of how to remove it safely.

What You’ll Need:

Flat bar
Boxes
Duct tape
Bucket
Respirator
Safety goggles
Gloves
Disposable coveralls
Sheet plastic

Step 1 – Dress Appropriately

The first and most important thing that you need to do is dress appropriately. If you do not wear the proper materials for the job, you could risk health problems. If you have any respiratory problems already, this could greatly complicate them. Even if you do not have any problems, it can hurt you over the long run. Therefore, you need to make sure that you wear protective gear all over. Put on your safety goggles, a respirator, gloves, and disposable coveralls to protect yourself from any loose fibers that might fly up.

Step 2 – Wet the Floor

Once you are dressed appropriately for the job, you need to make sure that the tiles are thoroughly wet. Take a bucket of water and dump it on the tile. Wetting the tile will help keep all of the loose fibers on the tile. When you run into problems with asbestos, it is because the fibers get airborne. Keeping water on the tile throughout the process will keep everything safe.

Step 3 – Pry Up the Tile

Once the tile is sufficiently wet, you need to start prying it up. Throughout the process, you need to make sure that you are very careful not to break it up into little pieces. If you can, try and take the tile up in whole pieces. If the tile is not attached to the floor very well, this should be possible. If it is stuck well, it might break up. If this is the case, just keep wetting it and try to keep it to a minimum. Keep doing this until the tile is removed.

Step 4 – Disposal

As you take up the tile, you should place it in boxes for disposal. You can get plastic containers or just use several cardboard boxes instead. If you have cardboard boxes, line them with the sheet plastic and place the tile inside. Once the tile is in the boxes, you can seal it up well with the duct tape. This will prevent any loose asbestos fibers from getting out into the air. After you have everything in the boxes and have them sealed up, label the outside of the boxes so that others will know it is hazardous materials. Dispose of it in the proper way according to your area’s regulations for disposal of hazardous materials.

Source: www.DoItYourself.com