Archive

Monthly Archives: January 2022

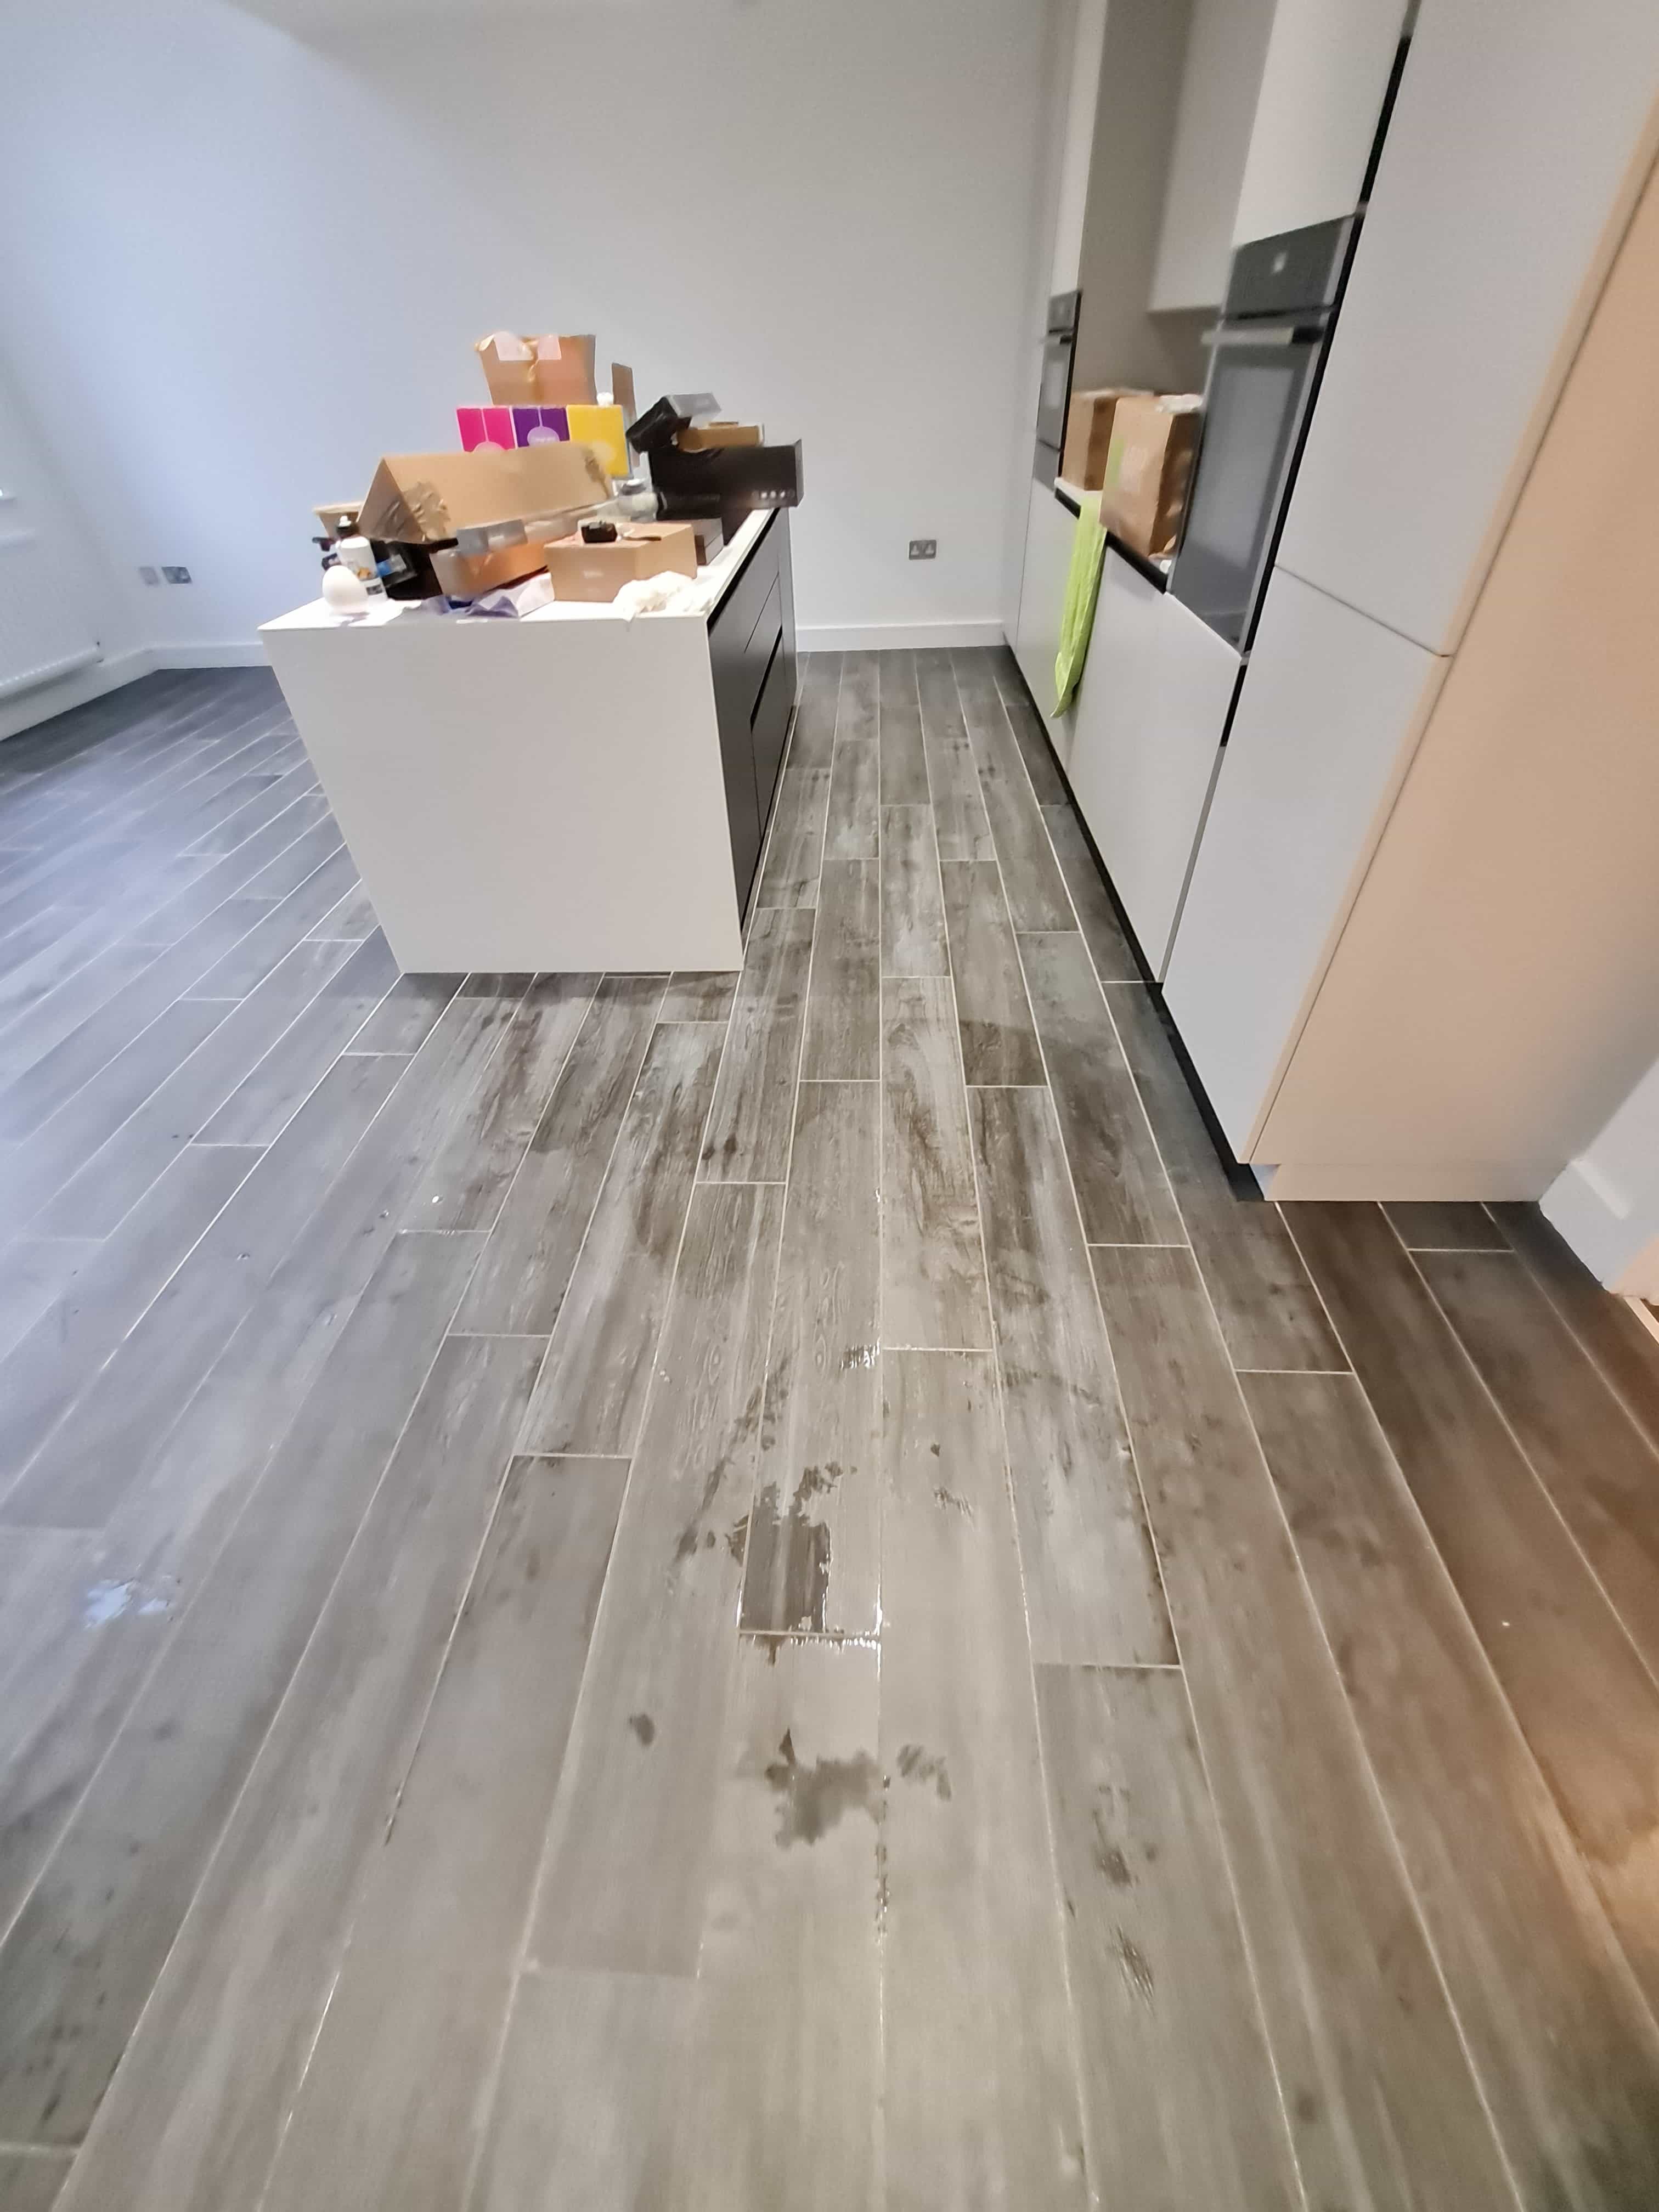
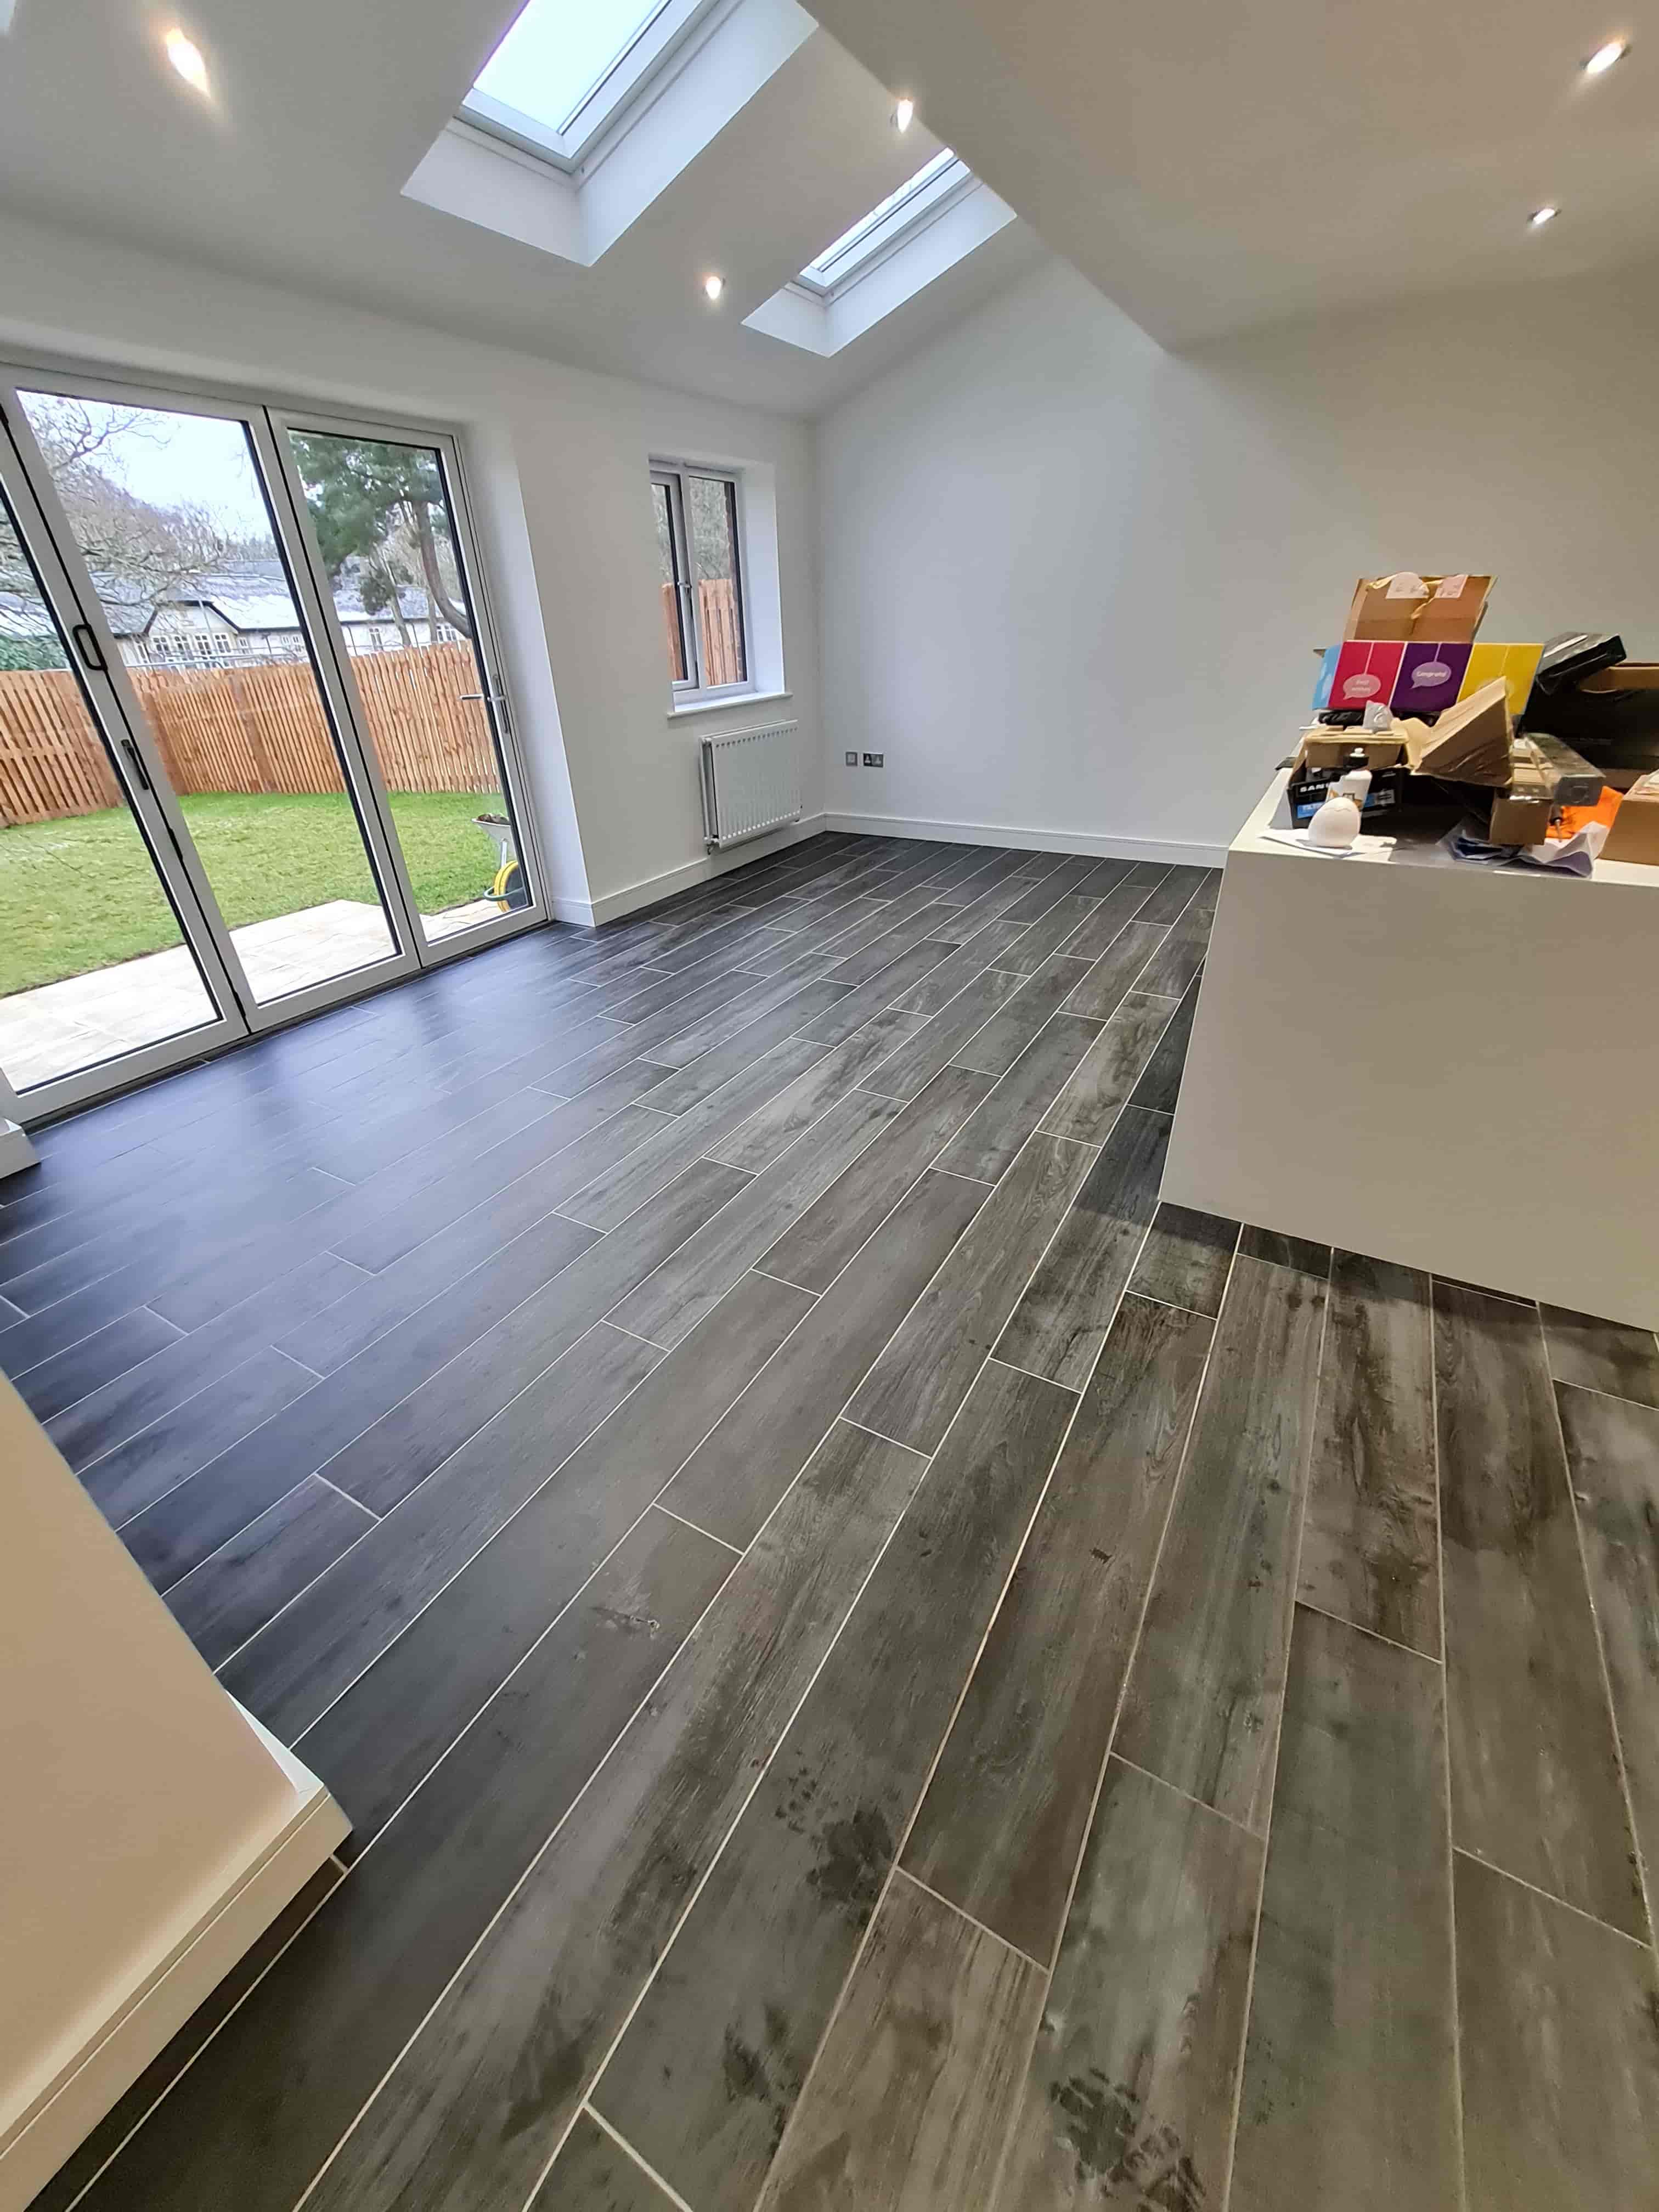
An in-floor radiant heat system uses electric coils or heated water tubes installed under floors. The heat from the coils or tubes radiates upwards and warms up the living space. In contrast to forced air furnace heating systems that warm the air in a home, an in-floor radiant heat system works by radiating heat, thereby warming objects above the floor. Enlisted below are some of the common benefits and drawbacks associated with the purchase, installation, and use of in-floor radiant heat systems.

Radiant Heat Benefits

An in-floor radiant heating system is much more long-lasting when compared to a normal furnace. A high-quality radiant heat system can last more than 35 years if taken care of and maintained properly. In comparison, a furnace can only last for about two decades.

In-floor radiant heating systems are available in 2 versions – hydronic systems, which use heated water, and electric systems that use electric coils. Hydronic systems are more expensive to install but are suitable for installing in new homes and for whole-house projects. Electric heating systems are cheaper to install but may have higher operating costs.

Compared to forced-air heating systems seen in most homes, an in-floor radiant heat system typically has higher efficiency and better heat retention. This is because the heat is retained in the lower part of the room, unlike in forced-air systems, where the heat rises. As a result, most people are comfortable at a lower temperature using in-floor radiant heat. This can also lead to significant energy savings.

Allergy sufferers often have severe symptoms when the ducts and vents in a home are dirty. An in-floor radiant heat system is therefore suitable for people prone to allergies because there is no dependence on ducts or vents, which blow out warm air to heat the home.

There is more freedom in furniture placement because there are no vents to leave unblocked.

In-floor radiant heating systems are quiet and efficient in operation. There is no sound emanated from the pipes or coils underneath, unlike furnaces that can get noisy.

If you live in an older home, you can choose to install in-floor radiant heat only in certain parts of your home. Electric radiant heat systems require less work to install as compared to the hydronic versions.

Radiant Heat Drawbacks

An in-floor radiant system can be slow to warm up the living space. A hydronic system can take a few hours, whereas an electric system can take about an hour. Concrete floors also take a very long time to heat up. However, because heat retention is excellent, most homeowners may benefit from turning on the system during off-peak hours.

Installing an in-floor radiant system has large upfront costs as compared to a traditional furnace system. Most people find these costs too high and may prefer a furnace heating system.

In-floor radiant heat systems require little care or maintenance. However, any damage to the system, especially if it is hydronic, can result in costly repairs. It is also challenging to detect problems in the pipes or coils because of the under-floor layout.

Source: www.DoItYourself.com

We were contacted by a property owner in Birkdale near Southport who recently had a large kitchen extension built with wood effect Ceramic tiles on the floor. Unfortunately, the builder struggled to remove all the grout from the tiles, and this left the floor in a bit of a state. Grout haze or grout smears as it is often called can be a huge problem when laying tiles, it needs to be polished off quickly after installation and even more so if your using a modern quick drying grout.

Wood Effect Ceramic Planks Birkdale Kitchen Floor Before Grout Haze Removal

This is quite a common problem, and we are often asked to resolve tile installation problems of one variety or another. Sometimes we can use an acid-based product such as Tile Doctor Acid Gel or Grout Clean-up which can break down the grout so it can be rinsed away and extracted. Modern polymer grouts which offer improved flexibility and adhesion are trickier and will require a different approach. I wouldn’t recommend the use of acidic products on natural stone however as it can etch the stone thereby causing more problems than it solves, fortunately these tiles were Ceramic.

I conducted a quick test with Grout Clean-up, and it responded well, so I could see removing the grout haze wasn’t going to be problem in this case.

Removing Grout Haze from Wood Effect Ceramic Tiles

I diluted one part Grout Clean-up with two parts water and mopped into onto the floor and left to dwell for a couple of minutes. The solution was then scrubbed into the tile using a buffing machine fitted with a black pad to loosen the grout haze adding more water as needed. The buffing machine was run over the floor once more and the liquids removed using a wet vacuum.

Wood Effect Ceramic Planks Birkdale Kitchen Floor During Grout Haze Removal

The ceramic tiles were then speed dried using floor fans so I could review the result and repeat the process where required. Once I was happy all the grout haze had been removed, I gave the floor dry buff with a white pad to remove any water marks and improve the final appearance.

Wood Effect Ceramic Planks Birkdale Kitchen Floor After Grout Haze Removal

The photographs really show the transformation once the grout was removed. Certainly my client was over the moon with the difference and the builder much relieved, I’m sure.

Source: Ceramic Tile Cleaning and Restoration Service in Stockport

This article will explain how you can complete rubber tile installation. Rubber flooring needs minimal maintenance and creates a slightly supple feeling under your feet.

Rubber tiles can withstand daily wear and tear, even in high-traffic areas like the garage. Rubber offers a less slippery surface than vinyl flooring.

What You’ll Need:

  • Trowel
  • Leveling compound
  • Plywood bit
  • Kraft paper
  • Packaged rubber tiles
  • Chalk
  • Utility knife
  • Rubber tiling adhesive
  • Tape measure
  • Linoleum roller
  • Caulk

Step 1 – Prepare the Surface

Thoroughly clean the area you will be tiling. The surface should be dry and free of any lose debris. Scrub away all traces of paint, grease and oil with a trowel. Such substances can affect the bonding action of the adhesive. You can use leveling compounds to create a uniform concrete surface.

Step 2 – Prepare the Rubber Tiles

Remove the rubber tiles from their packaging. Ideally, you should do this at least two days prior to laying the tiles. Place the rubber tiles in the room where you’ll complete the tile installation.

The tiles will assume the same level of surface moisture and temperature as the floor. This aids the overall bonding process. Ensure that the room is well-ventilated during this period (but without any kind of water seepage).

Step 3 – Measure for the Tile Installation

You need to take measurements in two ways. First, take the measurements for the floor with no vertical obstructions. Divide the room into four sections with chalk. Using the tape measure, mark the center of the room. Start laying tiles within each chalked section.

Make sure to place them along the chalked lines. You should begin laying the tiles from the marked center. Count and note the number of tiles that fit in each section.

Secondly, you need to take measurements for the floor surface that has vertical obstructions, like the floor area around the wall edges and doorjambs. Place a tile against the base of the vertical obstruction and let it overlap the nearby tile, previously placed.

Using a utility knife, cut off the overlapping part of this tile. If the vertical obstructions have edges that you can’t easily cover with this method, use Kraft paper. Create a template of the problematic base of each vertical obstruction upon the Kraft paper.

Trace the design of the template onto the tile. Now, cut along the traced lines with a utility knife.

Step 4 – Install the Tiles

You should start at the corner of the room that is most distant from the exit. Remove the tiles that you placed for measurement purposes. Pour an ample amount of tiling adhesive on the subfloor. Spread the adhesive with a trowel.

Start placing the tiles over the adhesive-covered floor. Press down on the tiles to squeeze out excess adhesive. Wipe off the excess with a piece of cloth.

Step 5 – Finish the Tile Installation

The tiled surface may display some bumps due to air bubbles in the adhesive. You should level it with a linoleum roller. Let the floor and tiles bond properly through the night. On the next day, caulk any visible gaps between the vertical structures and the rubber floor tiling.

Source: www.DoItYourself.com

This Victorian tiled hallway floor at a property in Twickenham was in great physical condition considering its age but just hadn’t been cleaned or sealed in quite a few years. Over the years the protective sealer has worn away and dirt tracked in from outside had sunk deep into the pores of the tile. The floor looked dull, and my customer was finding it hard to clean and maintain effectively.

Victorian Hallway Before Restoration Twickenham

Cleaning Victorian Tiles

To remove the ground in dirt from within the pores of the tile I needed to apply a strong cleaning product that would breakdown the dirt and deal with any remaining sealer left on the floor. Usually, I find the sealer down the center of the hallway is worn away with use, but you still find traces towards the wall. To do the renovation effectively I would need to remove all the sealer during cleaning otherwise you risk an uneven appearance.

The best sealer stripper and cleaner for the job is a product called Tile Doctor Remove and Go so I mopped a strong dilution onto the floor and then left it to soak in for around fifteen minutes. To get the best from this product it’s advised to give it a long dwell time thereby allowing it to break down old sealer and dissolve the dirt and contaminants.

The floor was then scrubbed with a rotary floor machine to work the product into the pores of the tile and release the trapped dirt. After the first pass the floor was rinsed with a little water and the soil extracted using a machine. After inspecting the floor some areas were re-treated using the same process to ensure all the sealer and dirt had been removed.

After a final inspection I left the tiles to dry off overnight.

Sealing Victorian Tiles

The following day I returned and started by taking moisture readings from different parts of the floor. Its not a good idea to apply a sealer to a damp tile and damp areas should be dried out with a heat gun first.

My client was keen to have a classic shiny appearance, so I chose Tile Doctor Seal and Go to add protection to the tiles. The sealer will prevent dirt becoming ingrained in the tile and protect the floor from staining caused by spillages whilst making it very easy for our customer to maintain in the future. As you can see from the pictures, it also gives a nice sheen finish to add lustre to the floor as requested by my customer.

Victorian Hallway After Restoration Twickenham

Before leaving we had a quick chat about maintaining the floor and a warning about the use of strong floor cleaning products which can be over strong and prematurely strip the sealer away over time. For this floor I recommend Tile Doctor Neutral cleaner which is an effective cleaner but as its name suggests is pH neutral and mild enough not to harm the sealer.

Victorian Hallway After Restoration Twickenham

Source: Victorian Tile Cleaning and Sealing Service in Middlesex

I was recently contacted by a client who had just moved into a large Victorian property in the West Cheshire village of Tarvin about renovating their Victorian tiled hallway. Apparently, the floor was in good condition, and it would just be a case of removing what was left of the old sealer, deep cleaning the tiles and then applying a fresh seal. Unless the floor has been regularly maintained with the same sealer it’s important to remove all traces of old sealers before applying fresh.

Victorian Hallway Before Cleaning Tarvin Cheshire

A lot of the work we do at Tile Doctor can be a lot more involved, often requiring the sourcing of matching replacement tiles and rebuilding large sections of tiled flooring so straight forward clean and seal job is always welcome.

Stripping and Cleaning a Victorian Hallway Tiles

To remove what was left of the sealer and the ingrained dirt from the pores of the Victorian tile I dressed the floor with a strong dilution of Tile Doctor Pro-Clean. On this occasion I used a 1:3 dilution with water and applied it to the floor with a mop. I left it to soak into the tile for fifteen minutes before scrubbing so it could get to work breaking down the old sealer.

During this time, I set up a weighted floor buffer and fitted a black buffing pad, these pads are designed for scrubbing hard floors and lifting out the dirt. I applied a little water as required during this process to ensure the pad was lubricated. Shortly the cleaning solution darkened as the old sealer and dirt was released from the tile.

The soil was rinsed away with water and then removed using a wet vacuum. Once clear the floor was inspected and the process repeated until I was satisfied it was as clean as it could be and free of sealer.

Victorian Hallway After Cleaning Before Sealing Tarvin Cheshire

Sealing a Victorian Tiled Hallway Floor

I left the floor to dry off overnight and returned the next day to apply a new sealer. Before doing so however I like to use a damp meter to take moisture readings from the floor. This is needed to ensure it is dry enough to seal which is important as any moisture in the tile can affect the sealer and lead to an inconsistent finish.

To seal I started with the application of a single coat of Tile Doctor Colour Grow which is a colour intensifying breathable impregnator that soaks into the tile improving appearance and adding protection from within. Any excess sealant was removed by wiping the floor with a microfibre cloth and then it was left to dry for an hour.

This was followed with four coats of Tile Doctor Seal and Go Extra which is an acrylic breathable sealer which adds a pleasing subtle shine to the tile. This is an important feature when choosing a sealer for old floors where moisture needs to be allowed to rise through the tile, otherwise it can become trapped under the floor and reach out to the walls causing rising damp.

Victorian Hallway After Cleaning Sealing Tarvin Cheshire

The customer was very happy with the revamped hallway which made the house a lot brighter and welcoming. Before closing I should mention that for aftercare cleaning I recommend Tile Doctor Neutral cleaner which is designed for the daily cleaning for sealed tiles, this is important as most domestic supermarket cleaners are simply too strong and can prematurely erode the sealer.

Source: Victorian Floor Tile Cleaning and Sealing Service in Chester

Refinishing a limestone tile countertop is an easy process that will bring the original look and appeal of the limestone back to its original state. Limestone is a soft substance that takes a little extra care. Since it stains fairly easily, it has to be cleaned before it can be coated with a sealant.

What You’ll Need:

  • Flour
  • Mild dishwashing soap
  • Water
  • Hydrogen peroxide
  • Plastic wrap
  • Rubber spatula
  • Limestone sealant
  • Soft paint brush
  • Soft clean rags
  • Limestone sealant remover
  • Limestone filler

Step 1 – Clean Any Stains

Before even attempting to refinish a limestone tile countertop be sure that the surface is clean and that all of the stains are removed. Depending upon the type of limestone that you have, remove the stains by applying a paste made from flour, dishwashing soap, and water or flour, water, and hydrogen peroxide.

Apply the paste over the top of the stain and cover it for 24 hours with a piece of plastic wrap. When taking it off, scrape it up with a rubber spatula, making sure that you do not scratch the surface. After all the stains are removed in this fashion, wash the entire countertop with a good quality limestone cleaner. Use a clean soft rag and very little pressure.

Step 2 – Apply Limestone Sealant Remover

Once again, depending upon the type of limestone that you have installed, apply the sealant remover and follow the directions upon the specific type that you are using.

Be careful not to scratch the surface of the limestone. It is necessary to use a clean, soft rag when doing this, but be sure not to press down too hard upon the rag, and if you feel any particles of dirt between the rag and the limestone countertop, stop immediately and remove them before proceeding.

Step 3 – Apply Limestone Filler

If the countertop has a lot of swirls or scratches within it, or even some small chips or cracks, apply a thin coat of limestone filler in order to smooth the surface out.

Once again follow the directions given for the specific product that you use. The filler should effectively fill in any minor scratches or chips, but if the countertop has some serious issues it would be a good idea to have it resurfaced before continuing onto the next step.

Step 4 – Apply the Limestone Sealer

Apply the limestone sealer, after the other chemicals have dried, with a soft brush. Apply the sealant in even coats, using a motion that covers one section at a time. Begin at the back of the counter, and brush forward in one even stroke, and then back up in a line next to it.

Work as quickly as you can so that the sealant does not begin to dry as you apply the next row. This will ensure even coverage as well as preventing any lines from forming that will be seen after the sealant dries.

Source: www.DoItYourself.com

This 1920s single bay house in Earlsdon had been restored by the builder from top to bottom. The hallway floor had been covered in laminate flooring which had been removed, revealing an Edwardian tiled floor beneath. Unfortunately, the plasterer had not covered the floor when working on the walls, so the tiles were now covered in plaster!

Edwardian Hallway Floor Before Restoration Earlsdon Coventry

The client was keen to keep as many original features as possible and called me in to see if the original 100-year-old floor could be renovated in keeping with the rest of the house. I visited the property to survey the tiles and explained that it certainly could be and having worked on hundreds of these renovations before I was confident of getting a good result. They were happy to go with my quotation and we arranged a time to carry out the work.

Edwardian Hallway Floor During Restoration Earlsdon Coventry

Cleaning an Edwardian Tiled Hallway Floor

The floor tiles themselves were in good condition, but I had to hand carefully scrape the plaster off the tiles before starting on the deep clean. With the plaster removed from the floor I applied Tile Doctor Acid Gel and worked it into the tiles with a coarse 100-grit pad. The floor was then rinsed, and the waste extracted from the floor using a wet vacuum. The process was then repeated with a 200-Grit and then a 400-grit pad until I was happy.

The floor was then speed dried with fans whilst I worked on a repair around the threshold of one of the doors. The repair was relatively straight forward, and I managed to restore the tiling, so the repair was unnoticeable.

Edwardian Hallway Floor During Repair Earlsdon Coventry

The floor was then left overnight to completely dry out. Floors of this age don’t have a damp proof membrane so moisture can build up if they have been covered as in this case. The next stage in the restoration would be to apply a sealer and the floor needs to be dry before you do this otherwise the result can be patchy.

Sealing an Edwardian Tiled Hallway Floor

Returning the following day, I first tested the floor with a damp meter to check the moisture levels in different parts of the floor to ensure it was dry enough to seal. The fans had done a good job and I was pleased to find that the floor was dry.

To seal this floor, I used Tile Doctor Seal and Go Extra, it’s a breathable acrylic based sealer that allows for moisture vapour to rise through the tile and evaporate at the surface. This makes it ideal for situations where no damp proof membrane has been installed and there is a low risk of mineral salt deposits being formed (efflorescence).

Once completed the transformation was huge and he Victorian tiles looked well suited to the hallway. Feedback from my client was they were over the moon with the newly restored floor!

Edwardian Hallway Floor After Restoration Earlsdon Coventry

For regular cleaning, I recommended Tile Doctor Neutral Tile Cleaner, this is a gentle pH neutral cleaner that will ensure the newly applied seal is retained and not eroded prematurely. This can be the problem with most household cleaning products which contain strong chemicals like bleach which can break down the sealer over time. Without a sealer dirt gets back into the pores of the tile which will mean the homeowner will need to get the floor cleaned and sealed again – a vicious circle!

 
Source: Professional Victorian Floor Tile Restoration Service in Warwickshire

Pine flooring is simple to deal with. Many people get bored of the look of plain pine planks. Fortunately, painting pine flooring is simple and can change the look of a room without much effort.

There are a few things that need to be done in order to create a flawless painted floor. You should also know that this process can take several days, so you should plan accordingly.

What You’ll Need:

  • Vacuum
  • Floor enamel
  • Soft paint rollers
  • Masks
  •  Painter’s tape
  • Sponge brushes

Step 1 – Clean the Floor

Before you start taping or painting, you want to make sure the floor is completely clear of dirt and debris. Sweep, vacuum, and go over the floor with a lint-free cloth to ensure it’s clear.

Step 2 – Turn Up the Thermostat

A warmer floor will take paint much easier, and it will allow for a quicker dry time. Make sure your thermostat is set on at least 70 degrees Fahrenheit, and keep it there for a full day before you start to paint.

Step 3 – Add Tape

Just as you would with painting a wall, you want to tape off the areas that you don’t want paint to bleed through. Tape and cover the baseboards or floor molding to prevent the paint from accidentally getting on them.

Step 4 – Start in the Corners

It’s best to start in the corners of the room and cut the paint in with an edger or small roller brush. You want to use a thin layer of paint for this. This way if you need to go back over the edges while you work on the rest of the floor, it doesn’t become a darker color or stick out.

Step 5 – Paint the Rest of the Floor

Working in sections, start to roll the paint onto the rest of the floor. Use thin layers of paint and work slowly to reduce the risk of bubbles and wrinkles forming in the finish.

Step 6 – Add the 2nd Coat

After the paint has been applied, leave the area for at least 24 hours to allow the floor to dry. After this time you can begin to work with the second coat in the same manner in which you applied the first.

Depending on the color you choose and the condition of the floors, you may need to repeat this process several times.

Step 7 – Clean Up

Once the floor has dried and you have the finish you desired, you can remove the tape from the baseboards. Any areas around the edges that need to be touched up can be done with a sponge brush and a small amount of paint.

Clean up the area, and wait a full day before moving the furniture back into the room.

Tips

Painting on a rainy day, or during humid weather, can lead to wrinkles in the dry paint that are very hard to deal with. Try to paint during a time when the weather is clear and not humid.

Floor enamel is toxic. Be sure to wear painter’s masks while working with it.

Source: www.DoItYourself.com