If you are considering changing the flooring in your home, you have many options to choose from. This article is about four of the most common options: linoleum, hardwood, ceramic tile and laminates.
Linoleum
Linoleum is a good choice if you’re on a tight budget. It is the least expensive of the options discussed here.
With proper care, linoleum can last for many years. To extend its life even longer, apply a bonding coat after installation. Linoleum is resistant to liquids, scratches, dirt and scuffs, making it easier to clean. Also, the aesthetic design is all the way through the linoleum, not just on the surface. Therefore, as it wears the design will continue to show.
Linoleum is made of renewable, all-natural ingredients including pine rosin, mineral fillers and ground cork dust.
On the down side, linoleum can be difficult to install, especially in sheets, due to its stiffness. It can be hard to measure and form around curved areas. It also has to be glued to the sub-floor, which can be messy.
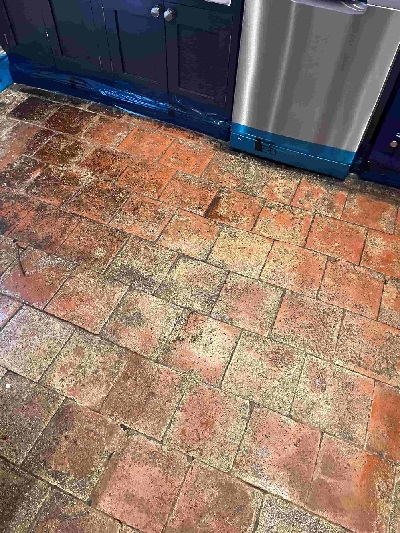
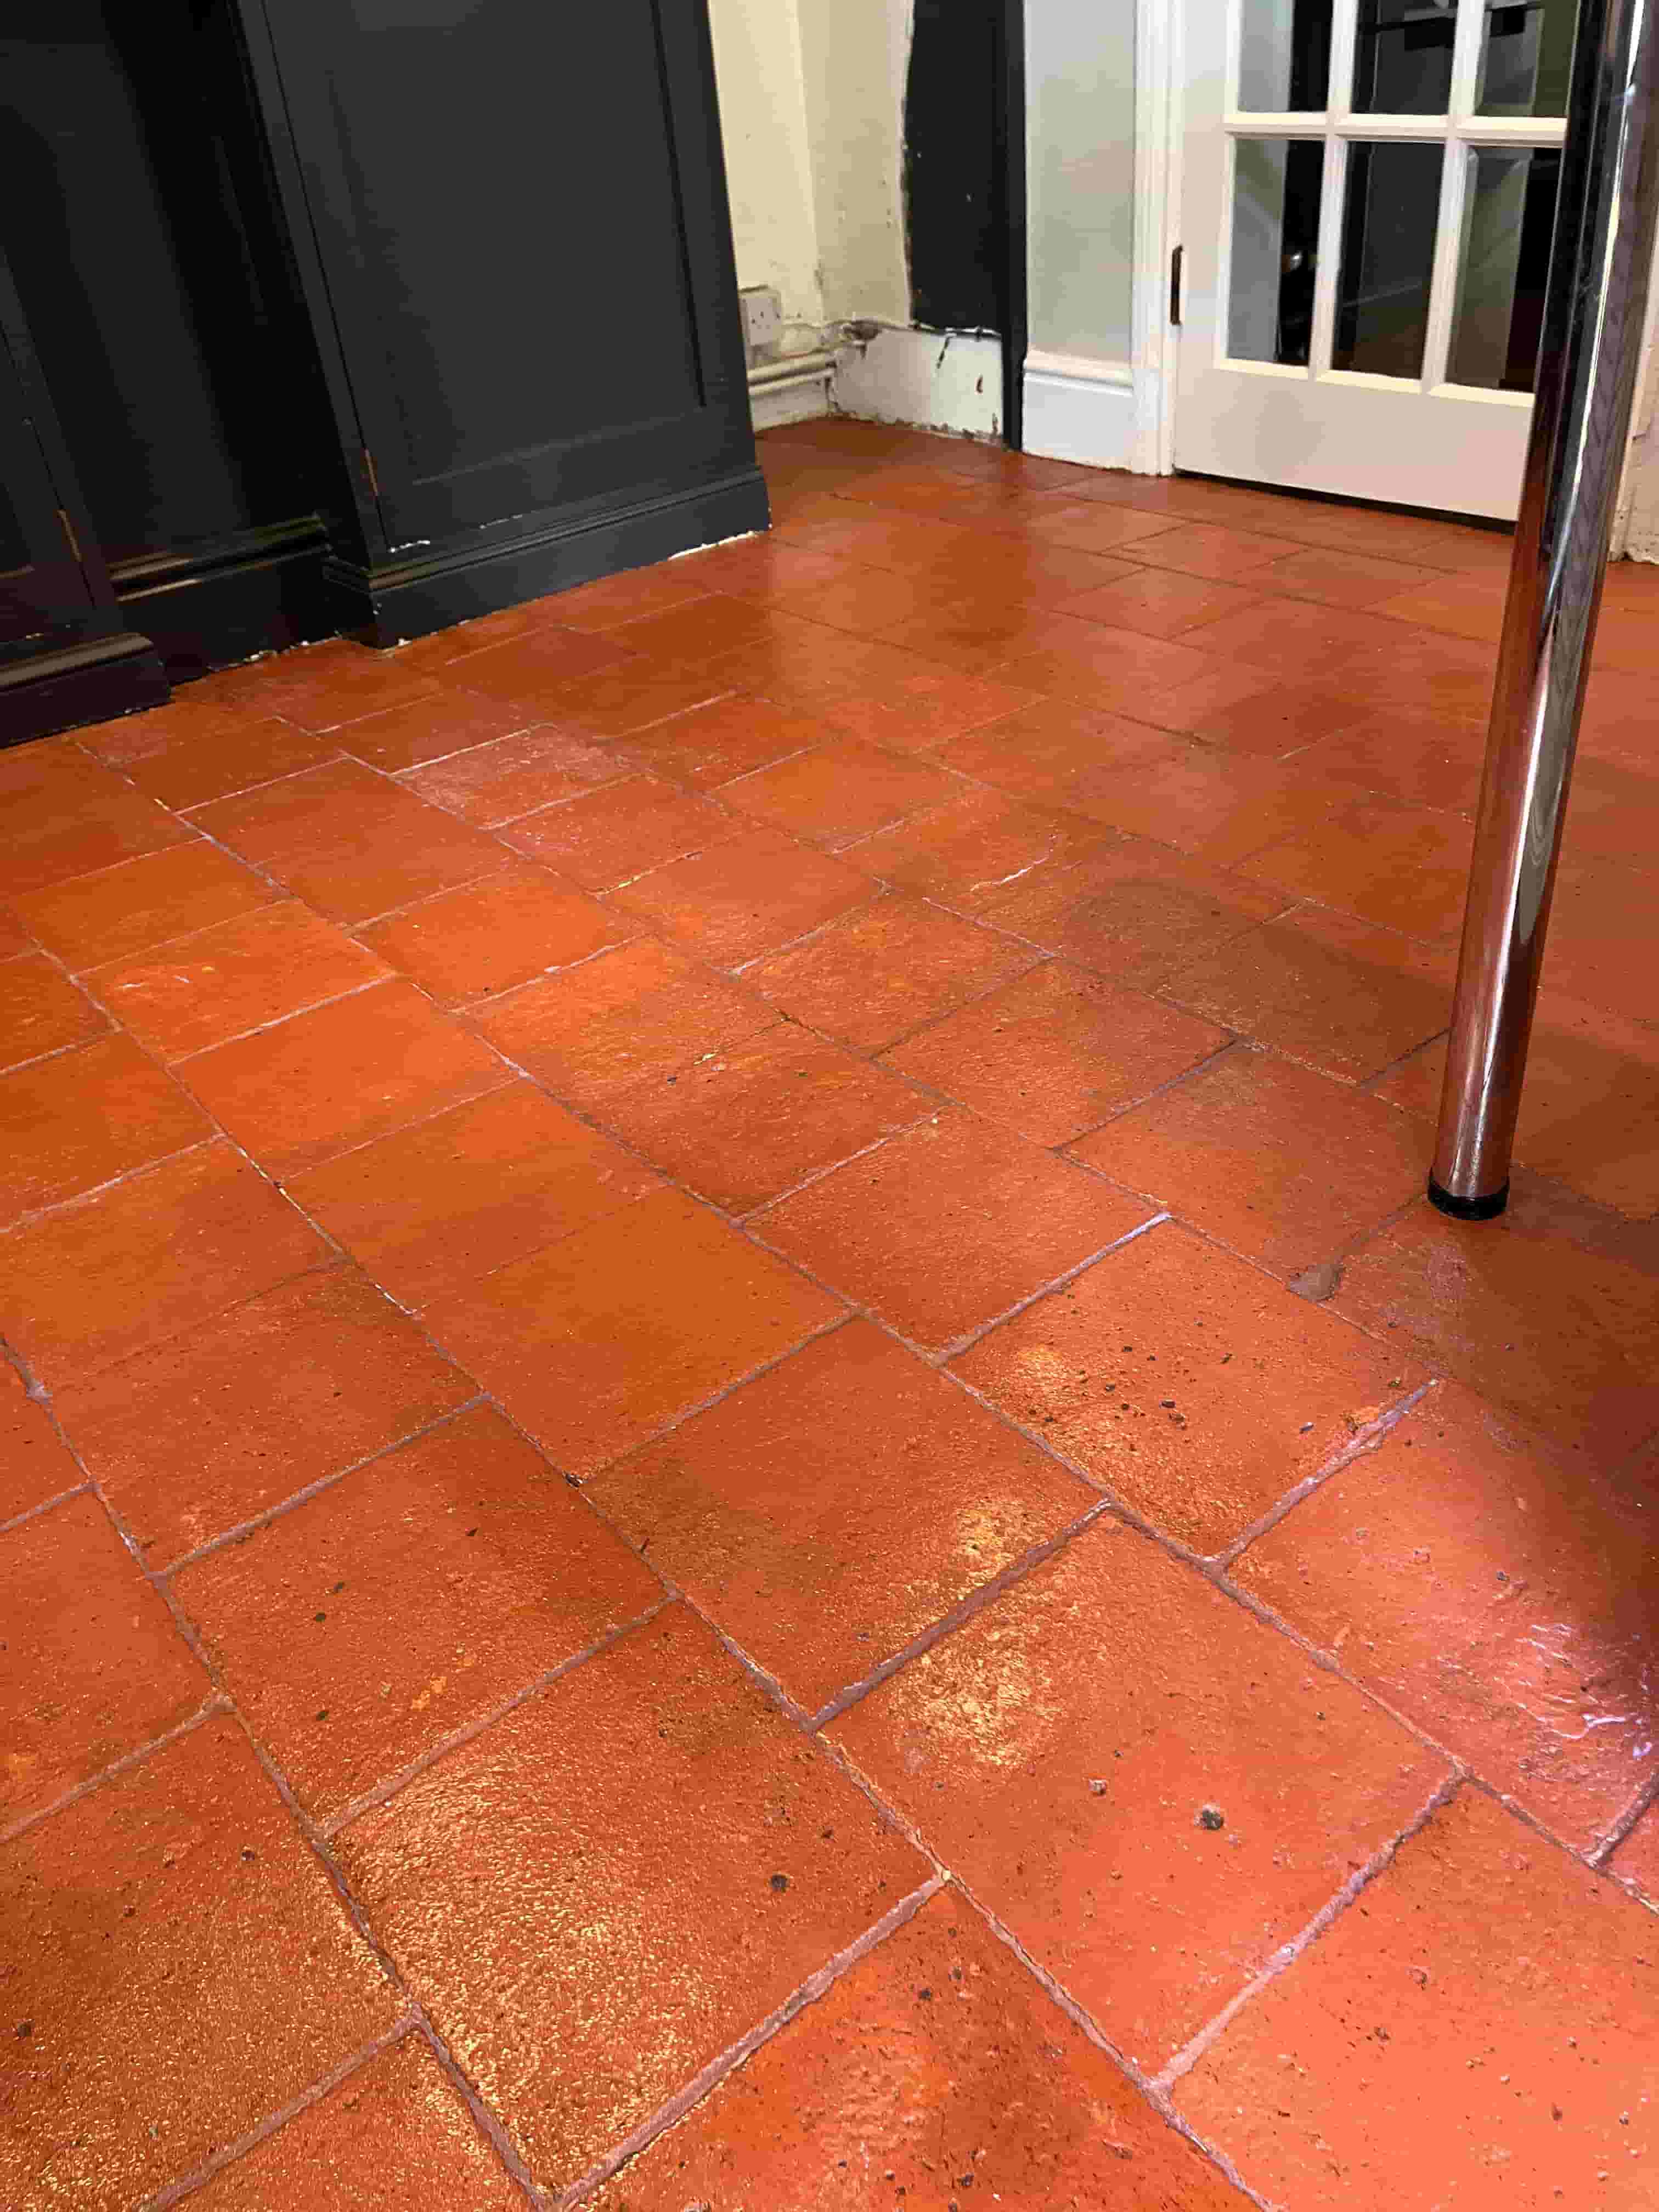
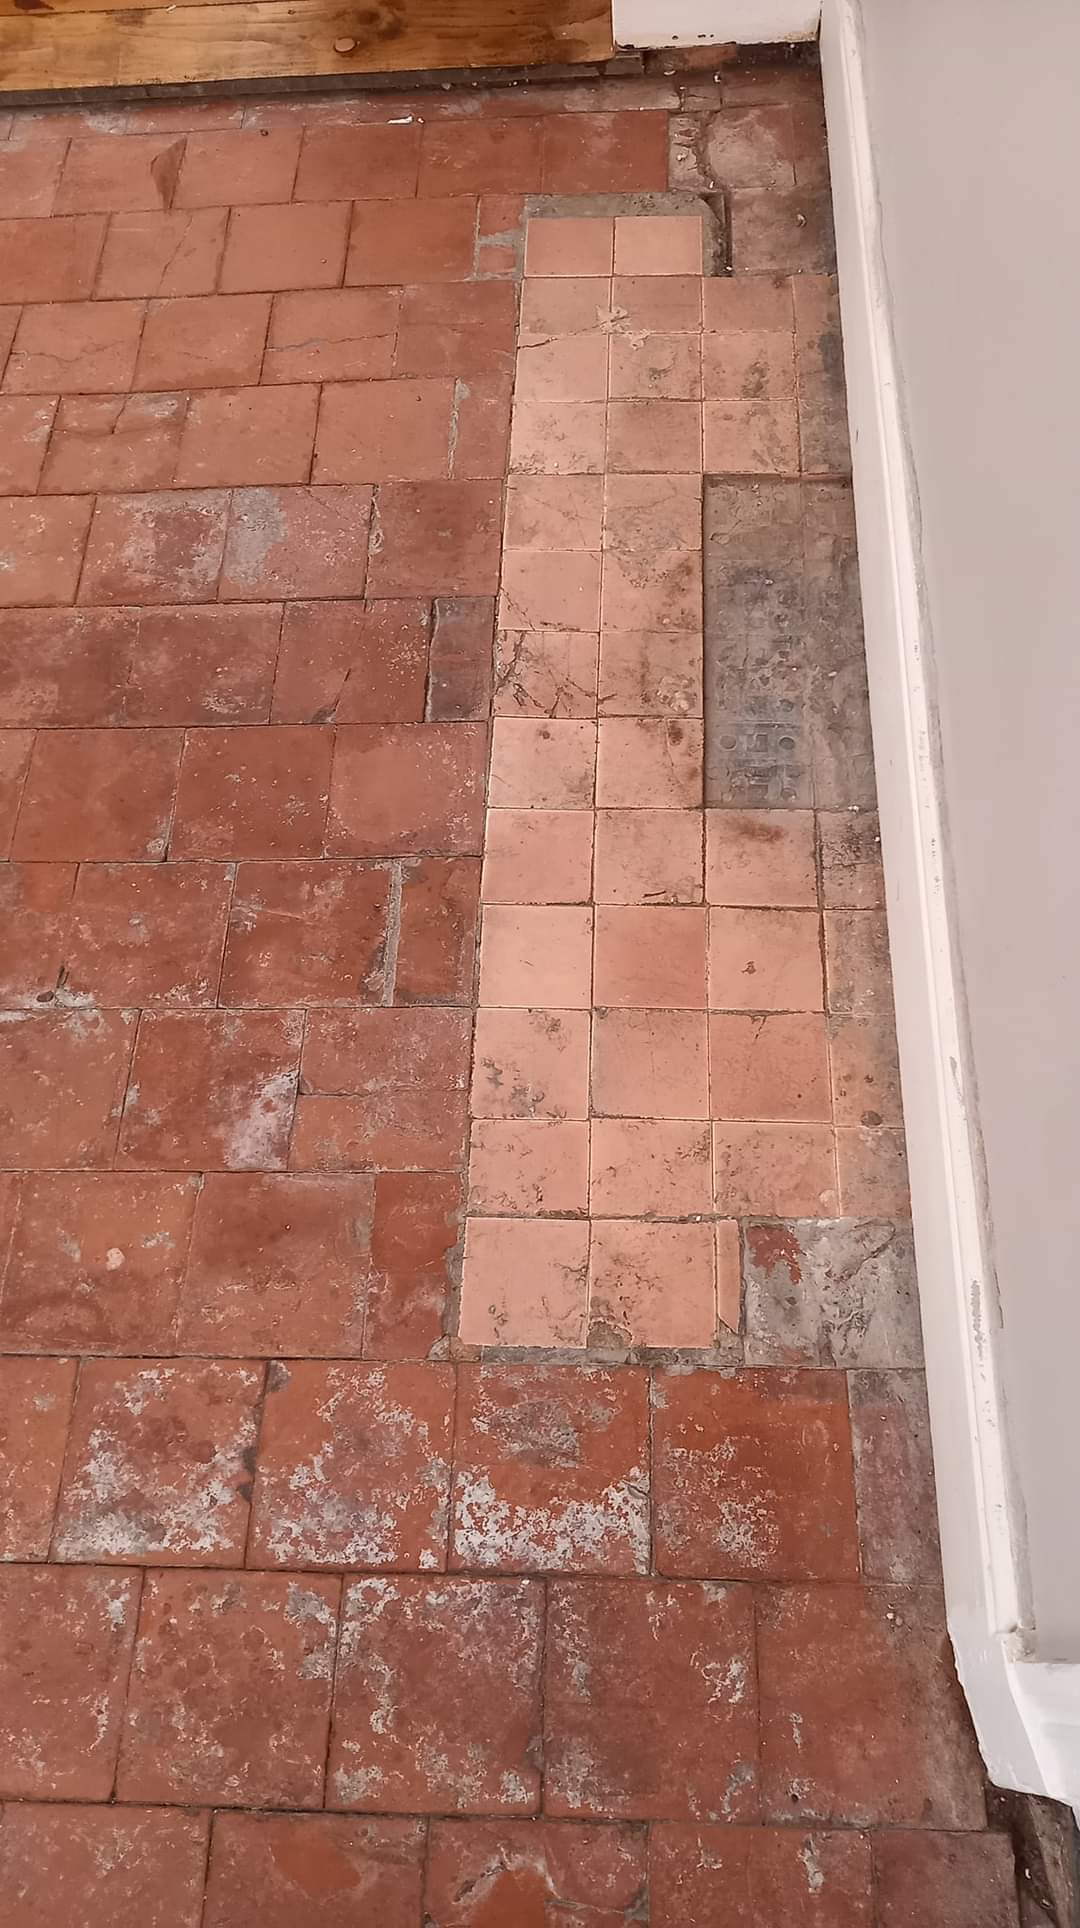
Ceramic Tile
Ceramic tile is another popular choice in flooring, mainly because it looks nice and is durable. It is good for high traffic areas because it won’t wear as easily as linoleum. It is unlikely to crack or chip unless you drop something like a hammer on it. When properly taken care of it can last for 20 years or more.
Ceramic tile is easily maintained. It resists stains, liquid and dirt. Clean up is as easy as wiping the floor up with a rag or sweeping it. It doesn’t tend to attract or trap allergens like carpet, making it a good choice for allergy or asthma sufferers.
There are many different designs and sizes to choose from. The number of patterns you can create are endless.
Ceramic tile is also affordably priced. It ranges from $3-10 a tile. However, it can sometimes be found on sale for less than a dollar per tile. There are also premium tiles that sell at much higher prices.
Best of all, installing ceramic tile can raise the value of your home.
On the downside, the hardness of ceramic tile can make it uncomfortable to stand on for long periods of time. It can cause injury if you fall on it and if you drop something fragile it is almost sure to break.
Walking barefoot on ceramic can sometimes be uncomfortable because it feels colder than other types of flooring.
Installing ceramic tile is a hard job. Tile is very heavy and has to be placed carefully in order to look good. Each tile affects the next, so if one is crooked or off by a fraction of an inch, by the time it’s done it may look awful.
Hardwood
The most popular type of flooring is hardwood. Like ceramic tile, hardwood floors also add value to your home.
Hardwood gives any home an elegant look and feel. Wood floors look good with any décor. There are several finishes to choose from including cherry, walnut and oak; and if you want to change them, they can be refinished.
Wood floors are easy to maintain. They can last more than 100 years with proper care. Cleaning consists of sweeping and washing with wood cleaner.
There are drawbacks, though. They can be expensive to install — anywhere from $3-12 per square foot. Add labor to that, and the price can skyrocket. A homeowner can do it himself, but it difficult to install.
If your wood flooring get scratches, scuffs or gouges, it may need refinishing. This can be a problem in particularly high traffic areas. While refinishing can be done by a DIYer, it creates a lot of dust and fumes that they may not want to deal with.
Wood floors can also be quite noisy, either from the sound of your shoes hitting the floor as you walk, or because they tend to squeak as they become older and loosen up.
If you decide to go with hardwood flooring, there are several types to choose from. It comes in various colors and grains, as well as hardness.
Some of the softer hardwood options are pine, fir and birch. Pine is light in color with fine, straight or wavy grain. It may get darker or become yellow as it ages. Fir has a prominent grain and uniform texture. The heartwood (the older, central wood of trees) of birch is light brown or red. The sapwood (the younger, outer layer of trees) is light colored. Like pine, the grains can be straight or wavy.
Oak, maple and ash are some of the harder woods. Oak is the wood most used in flooring and can range in color from honey, with a slight pink tint, to a dark amber. Oak grain is dark, fine and can be straight or wavy. If it is cut at a certain angle it can appear to have a metallic flake effect. Maple has a fine grain in many patterns from streaks to a rare bird’s eye pattern. The color of maple will mellow with light and air exposure over time. Ash has a light texture, prominent grain and a white to light brown color.
Laminate
Laminate can realistically imitate the appearance of wood, tile or stone. It’s inexpensive and is simple to install because it is a floating floor, meaning that it is not attached to the subfloor. It resists stains, is easy to care for and does not contain any allergens.
On the downside, laminate may only last 15 to 30 years because restoring it is not an option. If the wrong type of underlayment is used it may have a hollow sound when you walk across it. It can also be cold and slippery, although manufacturers have produced a more slip resistant type of laminate. Unlike ceramic tile, laminate flooring does not add value to your home.
Source: www.DoItYourself.com